
Introduction to Divine Homemade Breadsticks
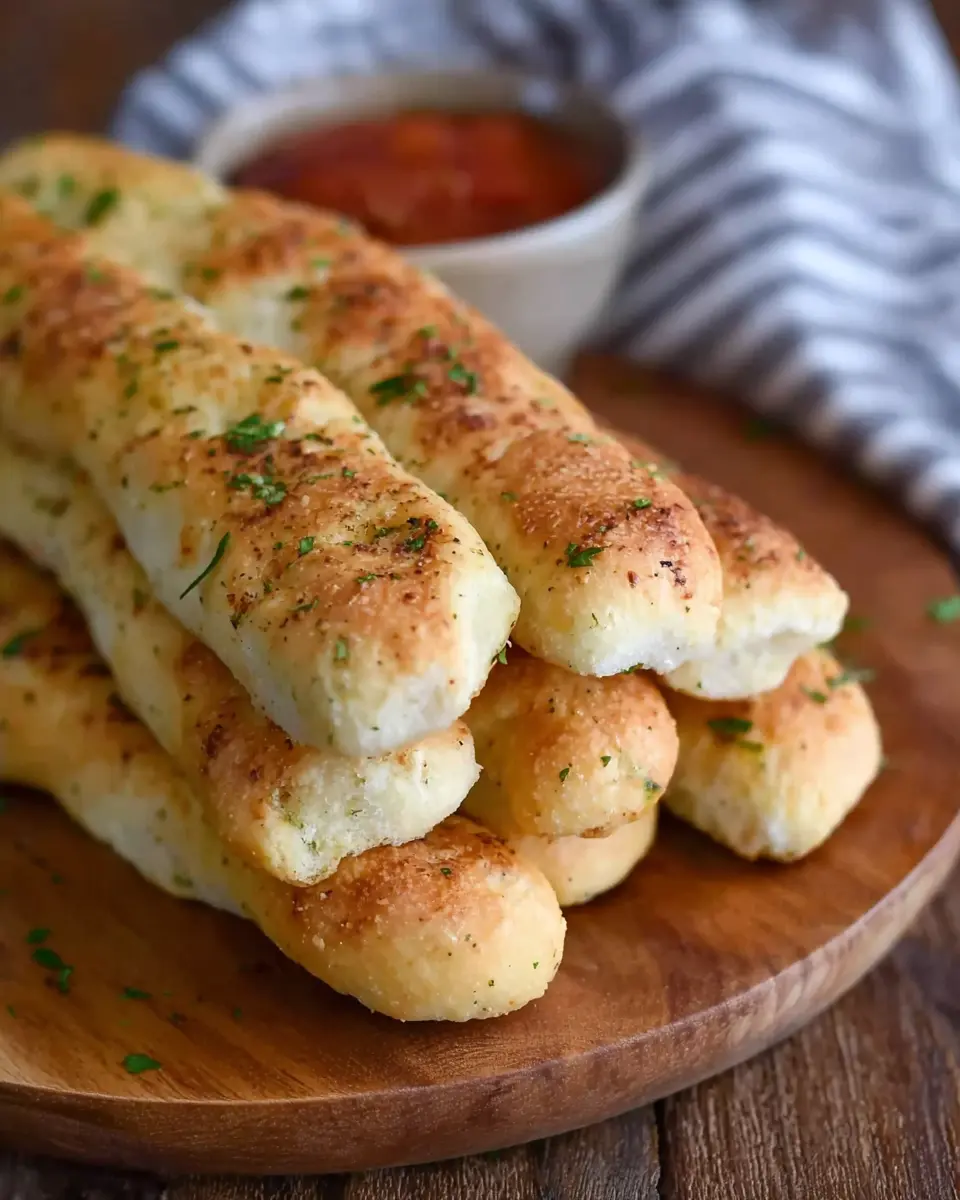
Nothing says love quite like the aroma of fresh divine homemade breadsticks wafting through your kitchen. Imagine this: you’ve had a long day, and the thought of dinner feels overwhelming. But wait—what if you could whip up a batch of warm, buttery breadsticks in just an hour? Yep, that’s what this recipe delivers!
Why Homemade Breadsticks Are a Game Changer
There’s something incredibly satisfying about creating your own breadsticks from scratch. Not only does it elevate your meal from ordinary to extraordinary, but it also allows you to tailor every aspect just the way you like it. Want a hint of garlic? Sprinkle it on! Craving a cheesy finish? Go ahead and add that Parmesan!
Benefits include:
- Time-efficient: Ready in just an hour—perfect for those busy weeknights.
- Versatile: Pair them with your favorite soup, salad, or main course, or enjoy them solo as a snack.
- Healthier option: Control the ingredients to suit your dietary preferences.
The beauty of these divine homemade breadsticks lies in their simplicity and the joy they bring to your table. If you’re ready to tantalize your taste buds and impress friends and family, let’s dive into the full recipe! For a deeper understanding of the science behind making perfect bread, check out resources like King Arthur Baking.
Ingredients for Divine Homemade Breadsticks
Essential Ingredients for the Dough
Creating divine homemade breadsticks begins with just a handful of essential ingredients. You'll need:
- Warm water: 1 ½ cups helps activate the yeast.
- Instant yeast: 1 tablespoon for that perfect rise.
- Sugar: 2 tablespoons to add a touch of sweetness and help yeast flourish.
- Salt: 1 teaspoon enhances the flavor.
- Flour: 3 to 4 cups, with options like all-purpose, bread flour, or even white whole wheat for a heartier texture.
Depending on the flour type, your dough's texture might change. Always adjust as needed since factors like humidity can impact how much flour you use.
Butter and Topping Options
Now for the finishing touch! To elevate your breadsticks, consider these options:
- Melted butter: 3 tablespoons brushed onto the baking sheet, adding rich flavor.
- Toppings: Get creative with dried herbs, like oregano or basil, sprinkle garlic salt for a savory kick, or add grated Parmesan cheese for a cheesy delight.
Feel free to mix and match these toppings to suit your palate! For more about perfecting homemade bread, check out this insightful guide on baking bread. Enjoy bringing these flavors into your kitchen!
Step-by-step preparation of Divine Homemade Breadsticks
Making divine homemade breadsticks is one of those simple joys that can elevate any meal. With just a few ingredients and under an hour, you’ll have a delicious batch of fluffy, buttery breadsticks that everyone will rave about. Let’s dive into the preparation steps!
Mixing the dough ingredients
Start by gathering your ingredients:
- 1 ½ cups warm water
- 1 tablespoon instant yeast
- 2 tablespoons sugar
- 1 teaspoon salt
- 3 to 4 cups flour
In a large bowl or an electric stand mixer fitted with a dough hook, combine the warm water, instant yeast, sugar, and salt, mixing them together before slowly incorporating 1 cup of flour. It’s important to note that using warmth helps in activating the yeast; make sure the water is not too hot, which can kill it, or too cold, which can hinder the rising process.
Kneading the dough to perfection
Once your ingredients are well mixed, continue adding flour gradually until the dough begins to clear the sides of the bowl. Knead the dough for about three minutes; it should feel soft and slightly tacky without leaving a lot of residue on your hands. This is the stage where you can let your inner baker shine! Don’t be afraid to get your hands in there if you're kneading by hand—it's incredibly therapeutic!
Letting the dough rest
After kneading, let the dough rest in its bowl for about 10 minutes. While it relaxes, this is the perfect time to preheat your oven to 400 degrees Fahrenheit and prepare your baking sheet by spreading melted butter generously across it. This buttery base adds richness and helps develop that irresistible golden crust.
Shaping the breadsticks
Once rested, transfer your dough to a lightly greased countertop and pat it into a rectangle about 16-inches by 7-inches. Use a pizza cutter to slice the dough into strips—aim for about 1-inch segments. Now comes the fun part: twist each strip slightly before placing them on the baking sheet, keeping about ½ inch of space between them. Finish off with a sprinkle of garlic salt, dried herbs, and perhaps some grated Parmesan cheese for an added touch of flavor.
Baking the breadsticks
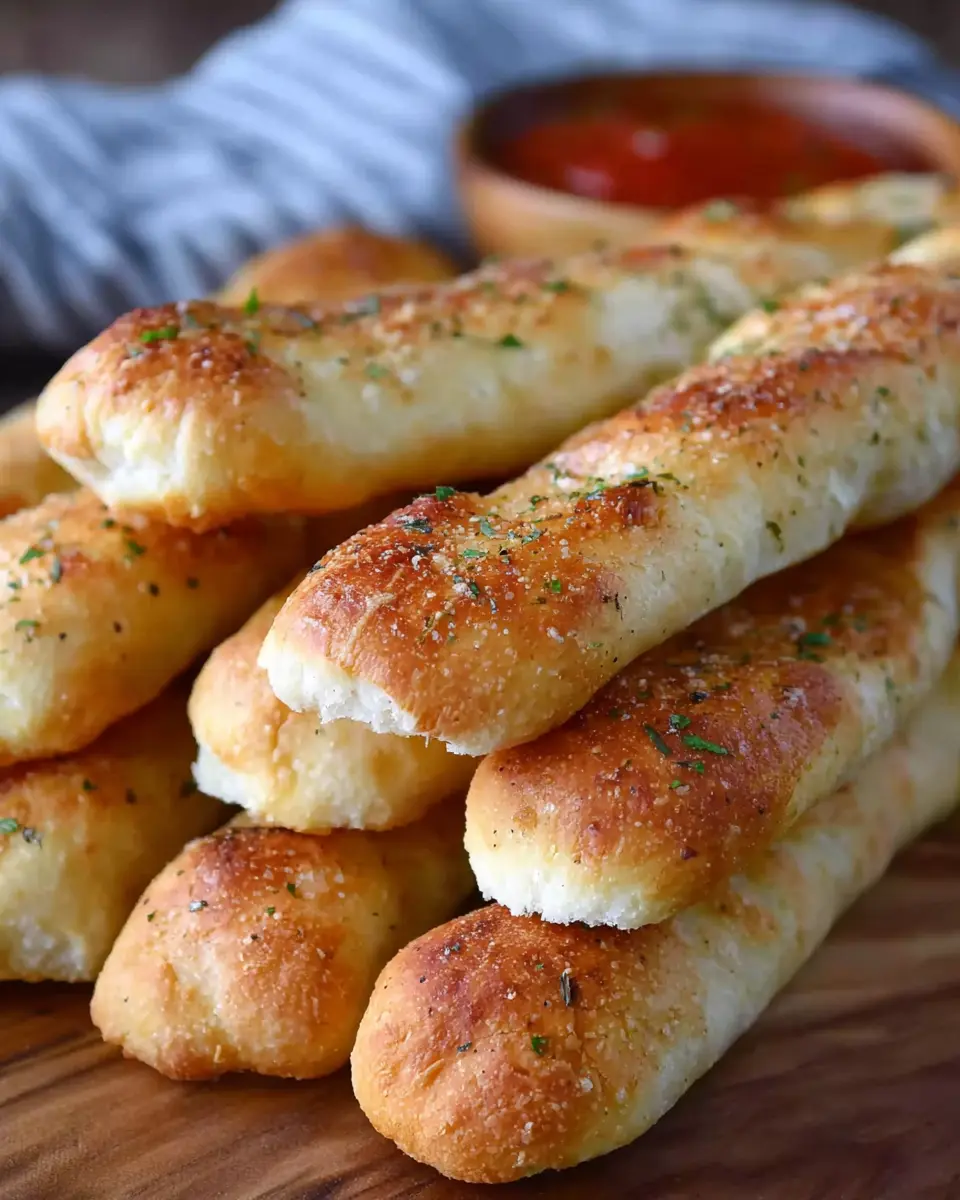
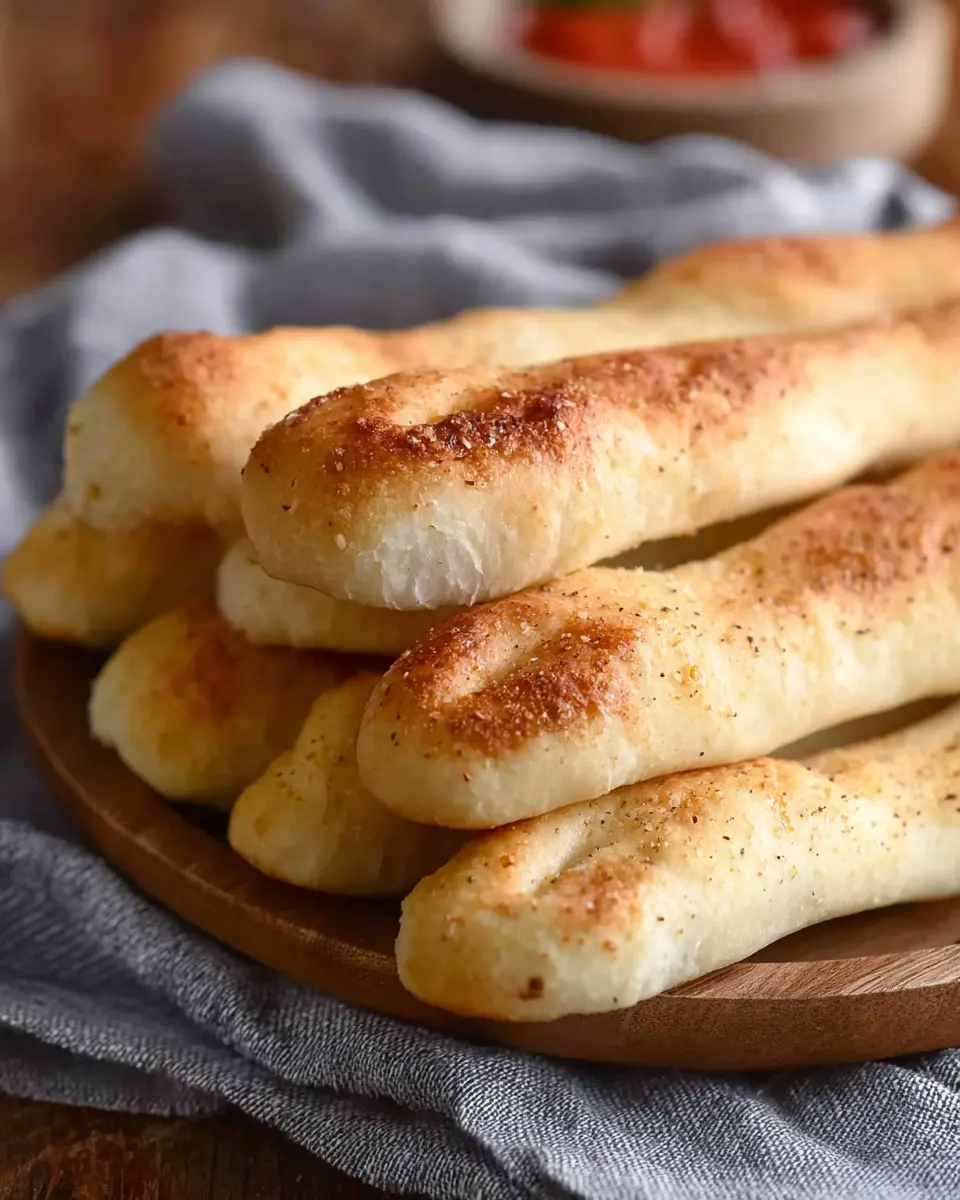
Let your shaped breadsticks rise for about 20 minutes before placing them in the oven. This resting period allows the breadsticks to puff up beautifully. Bake them for around 15 minutes, or until they turn a lovely golden brown. You’ll want to keep an eye on them—those heavenly aromas will make it hard to wait!
Enjoy the satisfaction of pulling your fresh, homemade breadsticks from the oven. Whether you serve them as an appetizer or as a side, they are sure to delight. Pair them with a salad or a comforting soup, and you've got yourself a meal that feels special without much fuss!
For more bread ideas, check out King Arthur Baking for inspiration and tips. Happy baking!
Variations on Divine Homemade Breadsticks
Herbed Garlic Breadsticks
Elevate your divine homemade breadsticks by adding a medley of dried herbs! Before baking, brush the dough strips with melted butter and sprinkle generously with garlic powder, oregano, and basil. This combination not only enhances the flavor but fills your kitchen with a delightful aroma. Pair these herbed garlic delights with marinara sauce for a delicious dipping experience that’s sure to impress your friends.
Cheese-Stuffed Breadsticks
For a cheesy twist, consider making cheese-stuffed breadsticks. After cutting the dough into strips, place a small amount of mozzarella cheese at one end and roll the dough over it. Seal the edges well to create little pockets of molten cheese. Bake as directed, and you’ll be rewarded with golden, cheesy goodness that’s perfect as an appetizer or snack. Who wouldn’t love a warm, cheesy bite?
Experiment with these variations and discover your new favorites! If you’re looking for more creative ideas, check out this guide on breadstick flavors.
Cooking Tips and Notes for Divine Homemade Breadsticks
Flour Tips for the Perfect Texture
For divine homemade breadsticks, choosing the right flour is essential. Consider using a blend of bread flour and white whole wheat flour for a heartier texture. This combination not only enhances flavor but also adds the perfect chewiness. Remember, flour types and environmental conditions like humidity can affect your dough’s texture, so don’t be afraid to adjust the quantity slightly based on feel.
Yeast Management for Best Results
Proper yeast management plays a pivotal role in achieving fluffy breadsticks. Use instant yeast for convenience, as it doesn’t require proofing. Just mix it with warm water and let it work its magic! Always check that your water temperature is between 100°F and 110°F for optimal activation. For more details on working with yeast, check out this helpful tutorial.
Serving suggestions for Divine Homemade Breadsticks
Perfect pairings with dips and spreads
There’s no denying that divine homemade breadsticks shine brightest with the right accompaniments! Consider pairing them with:
- Marinara Sauce: A classic choice that adds a tangy kick.
- Garlic Butter: Melted, fragrant, and perfect for dipping!
- Creamy Spinach Dip: Rich and delicious, this is a crowd-pleaser at any gathering.
- Hummus: For a lighter option, try roasted red pepper or classic chickpea hummus.
These combinations not only enhance the flavor but also elevate your breadstick experience!
Ideal meals to complement your breadsticks
Wondering what to serve alongside those delectable divine homemade breadsticks? Here are some meal ideas that beautifully complement their soft, buttery goodness:
- Spaghetti or Fettuccine Alfredo: These dishes provide a comforting pairing that keeps things traditional.
- Grilled Chicken Salad: A lighter option that balances perfectly with the warm, fluffy breadsticks.
- Beef Stew: The hearty flavors of this dish make breadsticks the perfect dipping companion.
Whichever meal you choose, your breadsticks will be the highlight of the table!
Time Breakdown for Divine Homemade Breadsticks
Preparation Time
The preparation time for these divine homemade breadsticks is about 40 minutes. This includes mixing the ingredients, allowing the dough to rise, and shaping the breadsticks, so you'll be able to savor the delicious aroma of fresh bread in no time!
Baking Time
Once you've shaped your breadsticks, they’ll need 20 minutes in the oven to bake to golden perfection. Keep an eye on them as they rise and turn a lovely brown!
Total Time
From start to finish, you’ll spend a total of 1 hour creating these delicious breadsticks. Perfect for any occasion, they’re simple yet impressive enough to impress your guests.
For more tips on yeast-based recipes, check out resources like King Arthur Baking to deepen your baking skills!
Nutritional Facts for Divine Homemade Breadsticks
Calories per Breadstick
These divine homemade breadsticks pack a punch at just 89 calories each, making them a delightful addition to your meal without breaking the calorie bank.
Protein Content
You’ll get 2 grams of protein per breadstick, providing a small but satisfying boost to your daily intake. When paired with a hearty soup or salad, they contribute to a more balanced meal.
Sodium Levels
With 133 mg of sodium per breadstick, these treats are flavorful yet moderate in salt. They can be enjoyed as part of a healthy diet, especially when served with fresh ingredients and nutrient-rich sides.
For more detailed nutritional insights, consider checking out resources like Healthline or USDA FoodData Central. Keeping an eye on nutrition can help you make informed choices while enjoying your favorite recipes!
FAQs about Divine Homemade Breadsticks
Can I make these breadsticks in advance?
Absolutely! You can prepare the dough and shape the breadsticks ahead of time. Simply follow the recipe until the twisting stage, then place the shaped breadsticks on a baking sheet, cover with plastic wrap, and refrigerate them for up to 24 hours. When you’re ready to bake, allow them to come to room temperature and rise for about 20 minutes before baking.
What’s the best way to store leftover breadsticks?
To keep your divine homemade breadsticks fresh for later, store them in an airtight container at room temperature for up to 2 days. For extended freshness, wrap them tightly in foil or plastic wrap and freeze for up to 3 months. When you're ready to enjoy them again, simply reheat them in the oven.
Are there gluten-free options for this recipe?
Yes! You can easily adapt this recipe for a gluten-free version by substituting regular flour with a high-quality gluten-free flour blend. Look for blends that contain xanthan gum or add some to help with the structure. Remember, experimenting with different flours can lead to delicious results! For more tips on gluten-free baking, check out resources like the Gluten-Free Goddess.
Conclusion on Divine Homemade Breadsticks
In just one hour, you can whip up divine homemade breadsticks that are perfect for any meal. They’re fluffy, flavorful, and sure to impress your friends and family. So, roll up those sleeves, gather your ingredients, and enjoy the delicious aroma filling your kitchen! You won’t regret it!

Divine 1-Hour Homemade Breadsticks
Equipment
- electric stand mixer
- pizza cutter
- Baking Sheet
Ingredients
Dough
- 1.5 cups warm water
- 1 tablespoon instant yeast
- 2 tablespoons sugar
- 1 teaspoon salt
- 3-4 cups flour may vary based on humidity and other factors
Butter and Topping
- 3 tablespoons butter, melted for the baking sheet
- dried herbs
- garlic salt
- grated Parmesan cheese
Instructions
Preparation
- In an electric stand mixer fitted with the dough hook (or in a large bowl by hand), mix together the water, yeast, sugar, salt and one cup of the flour.
- Continue adding the flour until the dough just clears the sides of the bowl; knead for about three minutes. It should be soft and slightly sticky without leaving a lot of residue on your fingers.
- Let the dough rest in the bowl for 10 minutes.
- While the dough rests, preheat the oven to 400 degrees F. Spread the melted butter onto a large, rimmed baking sheet (about 11X17-inches).
- On a lightly greased countertop, pat the dough into a long rectangle, about 16-inches by 7-inches or so. Cut the dough every 1-inch (more or less) into strips with a pizza cutter.
- Twist each strip slightly and place about ½-inch apart on the baking sheet. Sprinkle lightly with dried herbs of choice, garlic salt and Parmesan cheese.
- Let rise for 20 minutes. Bake for 15 minutes until golden.
Leave a Reply