
Introduction to Homemade Cream Puffs
What are homemade cream puffs and why are they a must-try?
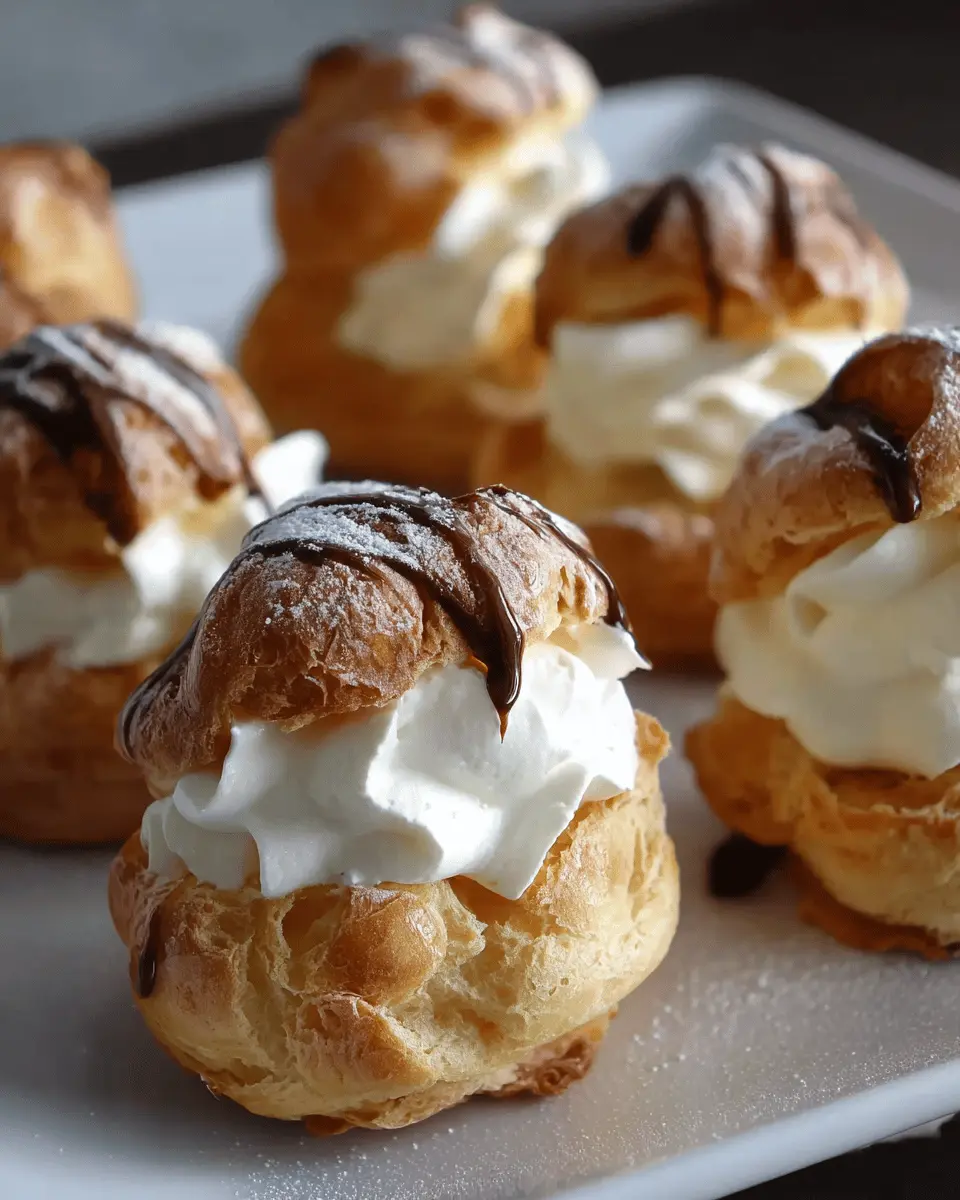
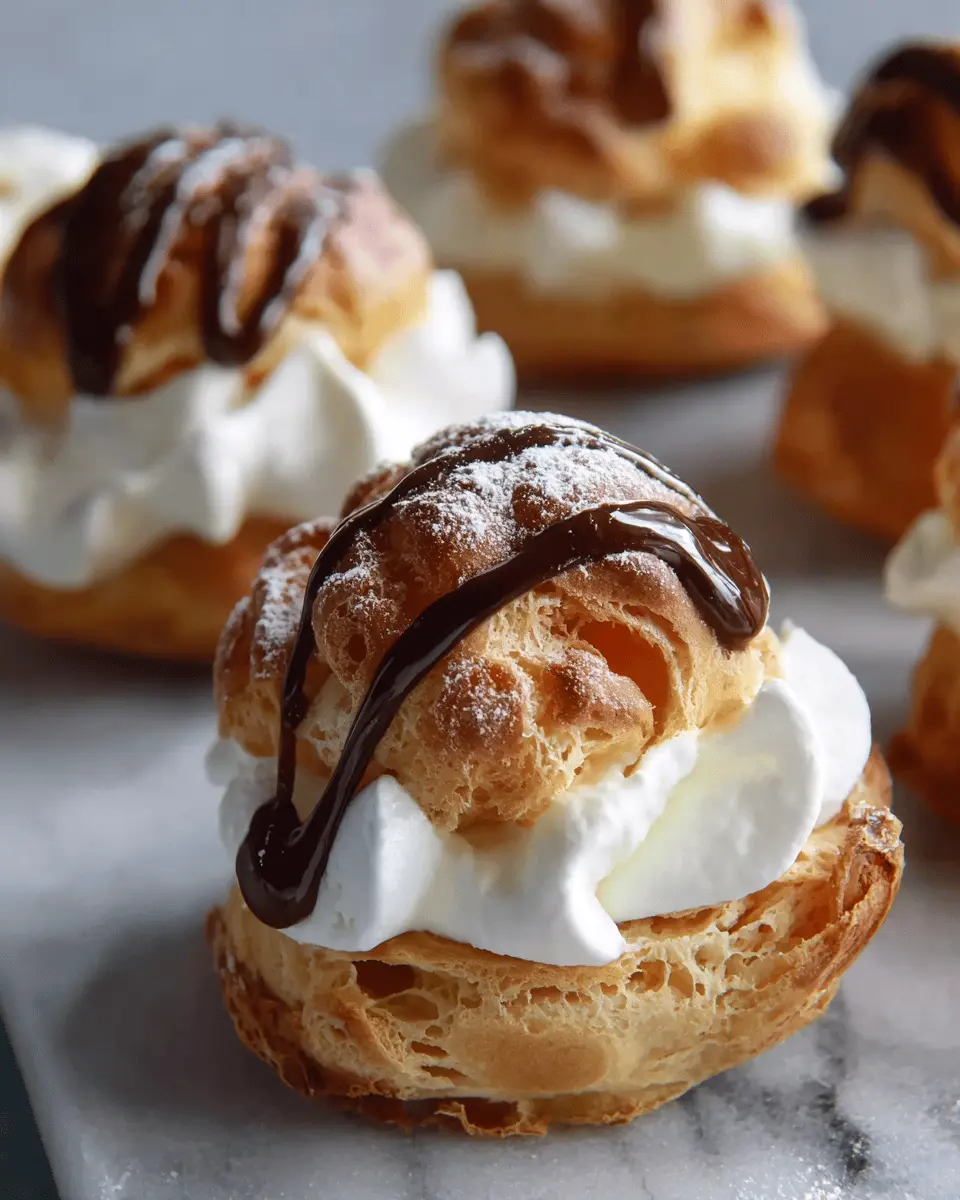
Homemade cream puffs are delightful French pastries that combine a light, airy shell with a creamy filling. The magic lies in the process of making pâte à choux, a type of pastry dough that puffs up beautifully in the oven. Each cream puff is crispy on the outside, while the inside is hollow and just waiting to be filled with luscious whipped cream.
But why should you try making them at home? First and foremost, the experience is truly rewarding. Picture this: you pull a tray of golden-brown cream puffs out of the oven, filling your kitchen with an irresistible aroma. Plus, there’s something immensely satisfying about biting into one and tasting the perfectly balanced flavors of cream and pastry.
Not only are they elegant—perfect for gatherings or as an everyday treat—but they're also surprisingly easy to make! You don't need to be a professional baker to impress your friends with these delightful homemade cream puffs. Just a bit of patience and some quality ingredients, and you'll have a dessert that rivals those from any high-end bakery. If you’re intrigued, let’s dive into the recipe!
For more inspiration, you can check out The Kitchn for additional tips and tricks on cream puff variations!
Ingredients for Homemade Cream Puffs
Making homemade cream puffs might sound daunting, but with the right ingredients and a little patience, you’ll be serving up these delightful treats in no time. Let's break down what you’ll need to achieve the perfect puffs.
Essential Ingredients for Pâte à Choux
For the choux pastry, gather these key ingredients:
- Water: 1 ¼ cups (300 ml), divided
- Sugar: 1 teaspoon (4 g)
- Salt: ½ teaspoon (2 g), kosher preferred
- Unsalted Butter: ½ cup (114 g), cut into slices
- All-Purpose Flour: 1 cup (124 g), spooned and leveled
- Eggs: 4 large
- Powdered Sugar: for dusting
Pâte à choux is the foundation of your cream puffs, creating that signature crispy shell you love.
Ingredients for Whipped Cream Filling
For a luscious filling, you’ll need:
- Heavy Whipping Cream: 2 cups (480 ml)
- Powdered Sugar: ½ cup (24 g), or granulated sugar works too
- Vanilla Extract: 1 teaspoon (5 ml), pure is best
This sweet and creamy filling will balance perfectly with your crispy pastry.
Special Equipment You'll Need
Having the right tools can make the process even smoother:
- Stand Mixer: Ideal for whipping cream and mixing choux dough
- Cooling Rack: Essential for letting your puffs cool completely
- Pastry Bag: Makes filling a breeze
- Plain and Star Pastry Tips: For piping precisely
With these ingredients and tools, you're all set to tackle your homemade cream puffs! Happy baking! If you're curious about other pastry techniques, check out The Kitchn for additional tips.
Step-by-step Preparation of Homemade Cream Puffs
Making homemade cream puffs may seem daunting, but trust me; it's an exciting process that leads to a delightful dessert. I’m here to guide you through each step for perfect cream puffs that are sure to impress!
Preheat and Prepare Your Oven
Before you start mixing ingredients, it’s essential to preheat your oven to 425°F (218ºC). This high temperature helps create that lovely puff we all love. Place your oven racks in the upper-middle and lower-middle positions. While the oven heats, line two baking sheets with parchment paper. Parchment not only prevents sticking but also contributes to evenly baked puffs.
Make the Pâte à Choux
Now, on to the star of the show—the pâte à choux. In a large saucepan, combine 1 cup of water, 1 teaspoon of sugar, ½ teaspoon of salt, and ½ cup of unsalted butter. Bring this mix to a rolling boil over medium-high heat, stirring until the butter melts. Then, turn off the heat and add 1 cup of all-purpose flour all at once, stirring vigorously. You’re aiming for a smooth, cohesive dough that pulls away from the pan.
Cool and Incorporate the Eggs
Once your dough is formed, it’s time to cool it down. Transfer the dough to a stand mixer to bring it down to a temperature around 130°F (54ºC)—this step is crucial to prevent curdling when the eggs are added. With your mixer on low speed, gradually add 4 large eggs, one at a time, ensuring each one is fully incorporated before adding the next. The ideal texture should be shiny but firm, making it easy to pipe.
Pipe the Dough onto the Baking Sheet
Using a pastry bag fitted with a large plain tip makes piping a breeze. Pipe 2-inch circles on your prepared baking sheets, spacing them at least 2 inches apart to allow for expansion. Flatten any pointy tops with a damp finger to prevent them from burning. Don’t forget the egg wash—you’ll want that beautiful golden color!
Bake for Perfect Cream Puffs
Pop the trays in the oven without opening the door! The gradual temperature change will help your puffs rise beautifully. Start at 425°F (218ºC) for the first ten minutes, then lower it in stages down to 200°F (93ºC) for about 60 to 70 minutes total. The trick is patience!
Prepare the Whipped Cream Filling
While those cream puffs cool on a wire rack, prepare the luscious whipped cream filling. In a stand mixer, combine 2 cups of heavy cream, ½ cup powdered sugar, and 1 teaspoon of vanilla extract. Whip until stiff peaks form, but be careful not to overdo it—nobody wants curdled cream!
Fill the Cooled Cream Puffs
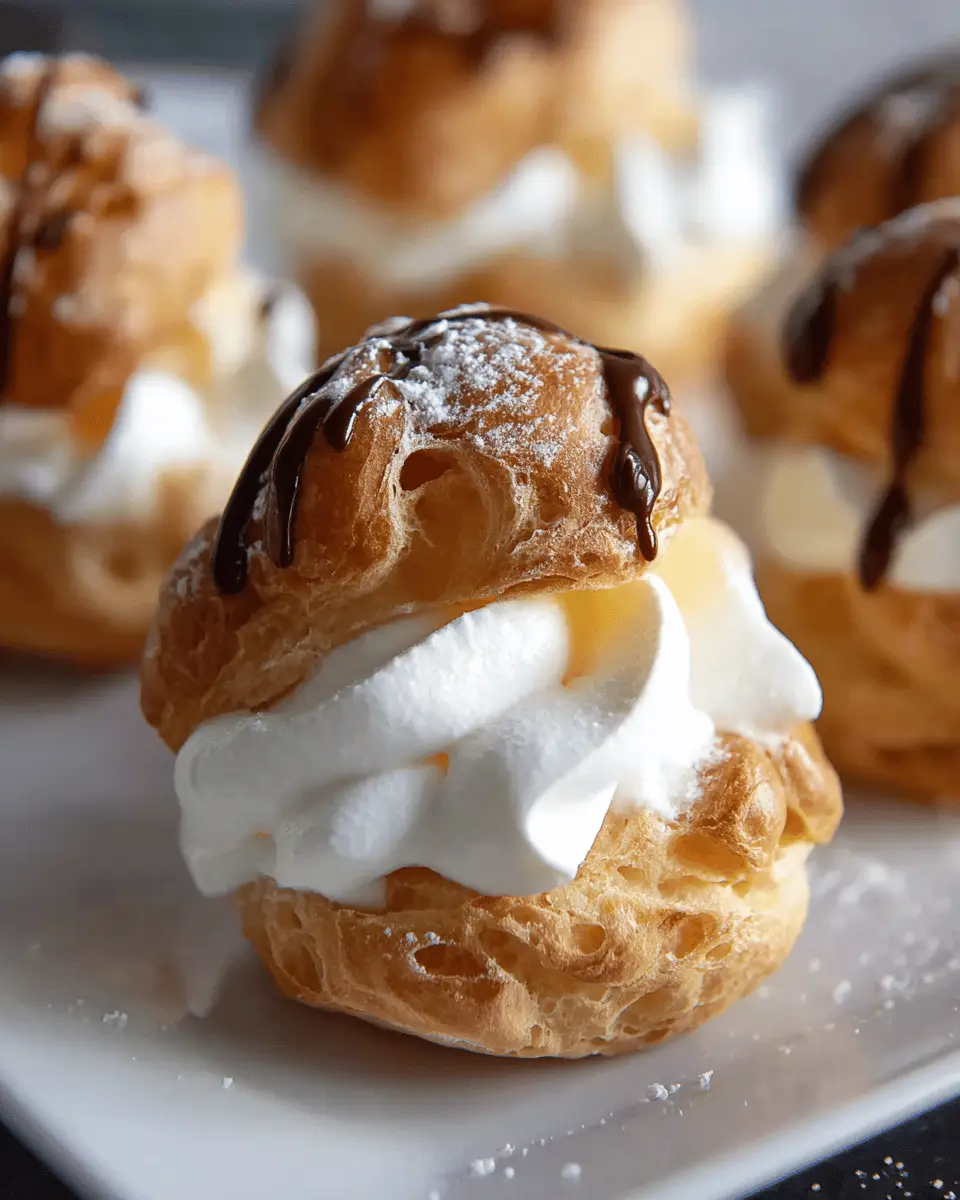
Once your cream puffs are completely cooled, carefully cut them in half. Using a pastry bag fitted with a star tip, pipe that heavenly whipped cream into the bottoms and place the tops back on. Dust with powdered sugar to finish it off, and voilà! You now have homemade cream puffs that are worthy of any dessert table.
With these steps, you've mastered the art of making homemade cream puffs. Enjoy the process—it’s just as rewarding as indulging in the final product! For more tips on pastry techniques and other French desserts, be sure to check out resources from renowned chefs like Julia Child or browse inspirations on Bon Appétit. Happy baking!
Variations on Homemade Cream Puffs
Mini Cream Puffs for Bite-Sized Indulgence
If you want a delightful twist on classic homemade cream puffs, try making mini versions! By piping smaller balls of dough (about 1.5 inches in diameter), you can create bite-sized treats perfect for parties or snacking. They’re not just cute; they’re irresistible, and everyone will love popping them in their mouths. Consider making a variety pack to experiment with different flavors—your guests will adore these tiny indulgences!
Flavor Variations for Whipped Cream Filling
The fun doesn’t stop at the shells! Elevate your homemade cream puffs by experimenting with whipped cream flavors. Here are a few ideas:
- Chocolate: Fold in cocoa powder or melted chocolate for a rich twist.
- Citrus: Add lemon or orange zest for a bright, refreshing taste.
- Coffee: Mix in espresso powder for a delightful caffeine kick.
Explore lines such as Epicurious or Serious Eats for inspiration and innovative flavor combinations that will truly impress!
Cooking Tips and Notes for Homemade Cream Puffs
Tips for perfect pâte à choux texture
To achieve the ideal texture for your homemade cream puffs, remember to measure flour accurately. Use the spoon and level method to avoid adding too much, which can make the pastry dense. When mixing the dough, vigorous stirring is crucial; it should pull away from the saucepan sides and have a glossy, thick consistency before adding your eggs. If it seems too runny after adding eggs, don't worry—scoop it back and incorporate a bit of flour accordingly.
Storing tips for unfilled and filled cream puffs
For best results, store unfilled shells in an airtight container at room temperature for up to five days or freeze them for a month. Should they lose their crispiness, reheat at 300ºF (149ºC) for a few minutes. Filled cream puffs are best enjoyed the same day but can last up to three days in the fridge when uncovered. For fresh-tasting homemade cream puffs, consume them as soon as possible!
Serving Suggestions for Homemade Cream Puffs
Ideas for Serving Cream Puffs at Gatherings
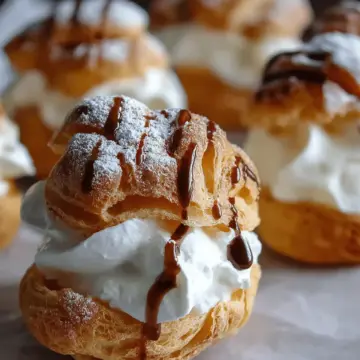
Homemade cream puffs are perfect for gatherings or casual soirées. Consider setting up a dessert bar where guests can customize their own cream puffs with toppings such as chocolate sauce, fresh berries, or crushed nuts. You could also serve them alongside generous scoops of ice cream for an elegant touch. For themed parties, try matching fillings to your event; light citrus curds for spring, or rich chocolate mousse during the winter holidays!
Pairing Suggestions with Beverages
When it comes to beverages, homemade cream puffs can complement a variety of drinks. For a refreshing combo, serve them with iced tea or sparkling water infused with lemon and mint. Coffee lovers might enjoy pairing these airy delights with a rich latte or a cold brew. The creamy texture of the puffs harmonizes beautifully with the boldness of coffee, creating a delightful culinary experience. Don't forget to explore non-alcoholic alternatives for every palate!
Time Breakdown for Homemade Cream Puffs
Preparation Time
Get ready for some baking fun! The prep for your homemade cream puffs will take about 30 minutes. This includes gathering your ingredients, making the dough, and getting everything set up for baking.
Cooking Time
Baking these delightful puffs is an art! The cooking time is approximately 1 hour and 15 minutes. This gradual baking process helps achieve that perfect, airy texture.
Total Time
In total, you’ll spend around 1 hour and 45 minutes creating these scrumptious treats from start to finish. The result? A batch of impressive cream puffs that are sure to wow your friends and family!
For tips on making perfect cream puffs, check out Serious Eats for expert advice! If you’re looking to dive deeper into French pastry techniques, King Arthur Baking offers some great resources too.
Nutritional Facts for Homemade Cream Puffs
Total calories per cream puff
Each delightful homemade cream puff contains approximately 116 calories. It's a guilt-free indulgence, allowing you to enjoy a classic French dessert without derailing your healthy eating goals.
Protein and fat content
In terms of nutrition, these cream puffs offer around 3 grams of protein and 7 grams of fat per piece. The healthy mix of ingredients ensures a balanced treat, making these creamy delights a thoughtful option for dessert lovers!
For more information on dessert nutrition, consider checking reputable sources like the American Heart Association or Harvard Health Publishing.
FAQs About Homemade Cream Puffs
How can I ensure my cream puffs rise?
The secret to perfectly risen homemade cream puffs lies in the moisture! Be sure to cook the dough until it forms a film on the pan and pulls away easily—the water evaporates, creating steam that puffs the pastry. Additionally, don’t open the oven door while baking; this will cause the temperature to drop and your puffs to deflate.
What should I do if my cream puffs are soggy?
Soggy cream puffs can happen if they are underbaked or not dried out properly. If you notice this, try returning them to a 200°F (93°C) oven for about 10 minutes to crisp them up. To prevent this in the first place, always ensure they’re fully dried and cooled on a wire rack before filling.
Can I make cream puffs ahead of time?
Absolutely! You can prepare homemade cream puffs in advance by storing the baked shells at room temperature in an airtight container for up to five days, or freeze them for a month. Just remember to reheating at 300°F (149°C) to revive their crispness before filling. For more tips on storage, check out this guide.
Conclusion on Homemade Cream Puffs
Creating homemade cream puffs might seem daunting at first, but the delightful results are worth it! The crispy pastry filled with fluffy whipped cream is a crowd-pleaser for any occasion. Don’t hesitate to experiment with fillings or toppings—after all, the best desserts often come from a dash of creativity and a sprinkle of love!
Homemade Cream Puffs: The Best Indulgent Treat You'll Love
Equipment
- Stand Mixer
- Cooling Rack
- Pastry Bag
- Plain Pastry Tip
- Star Pastry Tip
Ingredients
Pâte à Choux
- 1.25 cup water, divided
- 1 teaspoon granulated sugar
- 0.5 teaspoon kosher salt
- 0.5 cup unsalted butter, cut into 8 slices
- 1 cup all-purpose flour, spoon and leveled (see notes)
- 4 large eggs
- 0.25 cup powdered sugar, for dusting
Egg Wash
- 1 large egg
- 1 tablespoon water, or milk
Whipped Cream
- 2 cups heavy whipping cream or heavy cream
- 0.5 cup powdered sugar or granulated sugar
- 1 teaspoon pure vanilla extract
Instructions
Preparation
- Preheat the oven to 425°F (218ºC).
- In a large saucepan, bring 1 cup of water, sugar, salt, and butter to a boil over medium-high heat.
- Turn off the heat, add the flour, and stir until incorporated and the dough is dry.
- Transfer the dough to a stand mixer, mix on low to cool to 130°F (54ºC).
- Add eggs one at a time, mixing until fully incorporated and the dough is shiny.
- Pipe dough onto a sheet pan in 2-inch circular balls.
- Brush the tops with egg wash.
- Bake for 10 minutes at 425°F, then gradually lower the temperature.
- Check for doneness and let cool completely.
- Whip cream, powdered sugar, and vanilla until stiff peaks form.
- Pipe the whipped cream into the cooled pastry bottoms and place the tops on.
- Sprinkle powdered sugar on top and serve immediately.

Leave a Reply