
Introduction to Watermelon Mochi
If you're a young professional looking for a refreshing treat that perfectly balances flavor and fun, look no further than watermelon mochi! This delightful snack combines the soft, chewy texture of traditional mochi with the sweet juiciness of fresh watermelon, making it a unique indulgence for any occasion. Whether you're taking a break at work or enjoying a picnic with friends, this treat is sure to impress.
Why Watermelon Mochi is a Perfect Treat for Young Professionals
Watermelon mochi is more than just a dessert; it's an experience. It's quick to prepare—taking only about 20 minutes, perfect for those with a busy schedule. The vibrant pink color and delightful texture are sure to bring a smile to your face, even on the longest of workdays. Plus, with its fresh ingredients and minimal preparation, it embodies the healthy treat you're craving without sacrificing taste.
Did you know that watermelon is packed with vitamins A and C, as well as hydration benefits? So while you're delighting in this chewy goodness, you're also treating your body right! Ready to impress your colleagues or elevate your next gathering? Dive into this simple recipe for watermelon mochi and discover your new favorite snack!
For more details, check out this handy guide to mochi for some fascinating insights.
Essential Ingredients for Watermelon Mochi
Creating the perfect watermelon mochi requires some simple yet essential ingredients that contribute to its delightful texture and flavor. Let’s break down what you’ll need:
Glutinous Rice Flour
First and foremost, glutinous rice flour is the star of the show. This unique flour gives mochi its characteristic chewy texture. Be sure to choose a high-quality brand—like those found at specialty Asian grocery stores or online retailers—for the best results.
Sugar and Cornstarch
A combination of granulated sugar and cornstarch adds sweetness and helps prevent sticking. Sugar enhances the overall flavor, while cornstarch creates a smooth, dustable finish that keeps your watermelon mochi pieces perfectly separated.
Fresh Watermelon Juice
Using fresh watermelon juice is key to infusing that crisp, refreshing flavor into your mochi. Blending ripe watermelon and straining the juice will ensure a vibrant, sweet taste. Not only does this add flavor, but it also gives the mochi a beautiful pink hue.
Vegetable Oil
A little bit of vegetable oil will help create a silky texture and prevent your mochi from drying out during the cooking process. It’s a small touch, but it makes a big difference in achieving that mouthwatering chewiness.
Gathering these ingredients is the first step on your journey to making delicious watermelon mochi. Happy cooking!
For more tips on ingredients, check out sources like Serious Eats for a deeper understanding of mochi making or The Spruce Eats for related recipes.
Step-by-Step Preparation of Watermelon Mochi
Creating delightful watermelon mochi at home is not only a fun activity but also a delicious way to enjoy the sweet, refreshing flavor of watermelon. Follow these step-by-step instructions to elevate your snack game!
Prepare the watermelon juice
Start by selecting a ripe watermelon, as it will ensure your mochi has the best flavor. Cut the watermelon into chunks, removing any seeds, and toss it into a blender. Blitz it until smooth, almost like a smoothie. For the best texture, pass the blended mixture through a fine mesh sieve to eliminate any pulp. What you're left with is about a cup of vibrant, fresh watermelon juice that adds a natural sweetness to your mochi.
Combine dry ingredients
In a mixing bowl, combine 200g of glutinous rice flour, 65g of granulated sugar, and 40g of cornstarch. Whisk them together until evenly combined. Glutinous rice flour is crucial here—it gives the mochi its distinctive chewy texture. It's always good to double-check your measurements to ensure your final product comes out just right.
Whisk in watermelon juice and oil
Next, add your freshly prepared watermelon juice to the dry ingredients along with 1.5 tablespoons of vegetable oil. Using a whisk, combine everything until you achieve a smooth, lump-free batter. Don't rush this step; the better the mixture combines, the better your mochi will turn out!
Cook the mochi mixture
Heat a deep frying pan or saucepan over medium heat. Pour in your mochi mixture and stir continuously. You’ll notice it begins to thicken after about 5-8 minutes. It should transition into a dark pink, translucent consistency, becoming very sticky. This is where the magic happens, transforming simple ingredients into something extraordinary. If the mixture seems too thick, don't hesitate to add a touch more watermelon juice.
Set the mochi in a mold
While the mixture is still warm, prepare your mold by lining a 12cm x 12cm square container with parchment paper. If you don't have that exact size, any small rectangular container will do. Pour the warm concoction into the lined mold, using a spatula to press it down and smooth out the top. Refrigerate it for 1-2 hours, or until the mochi firms up nicely.
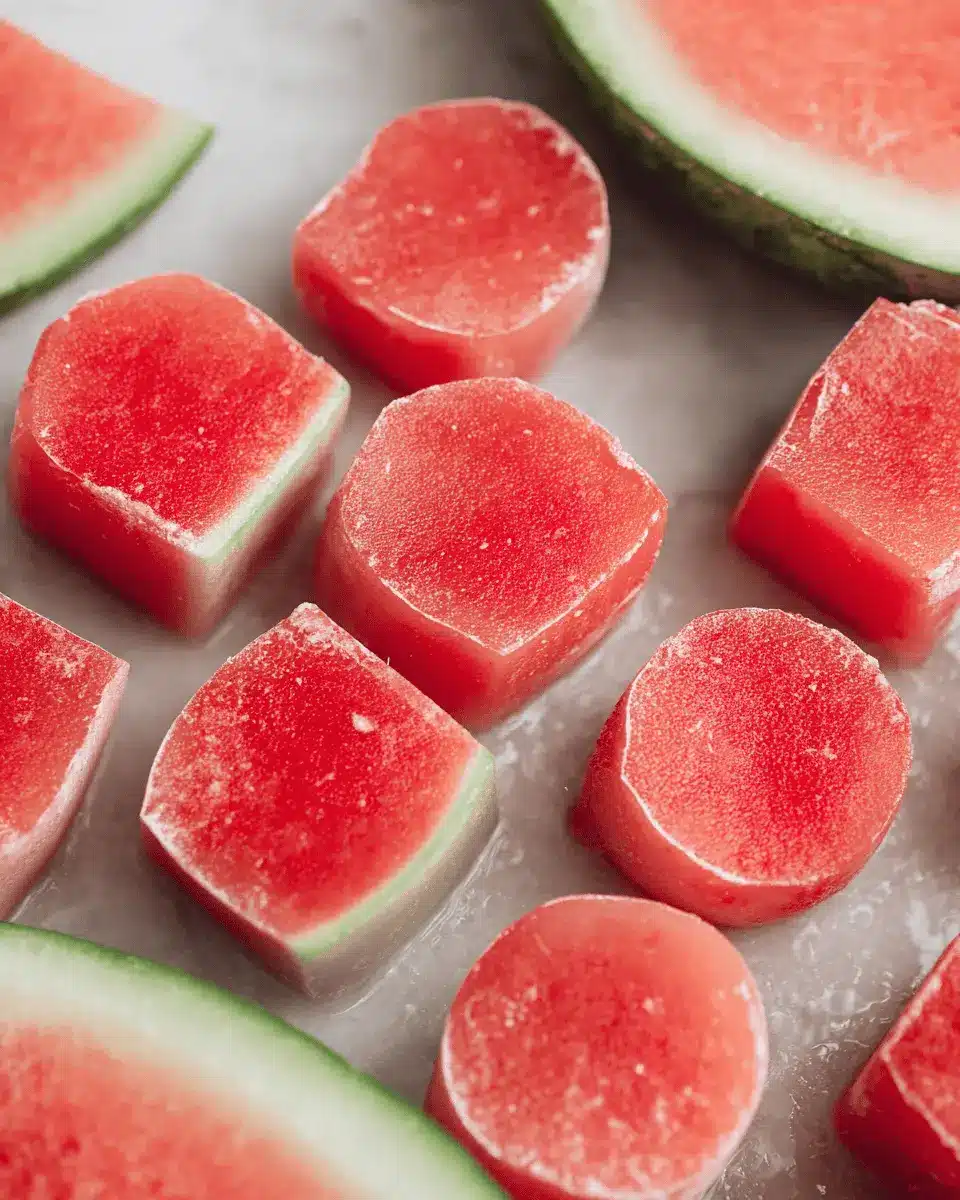
Cut and dust the mochi pieces
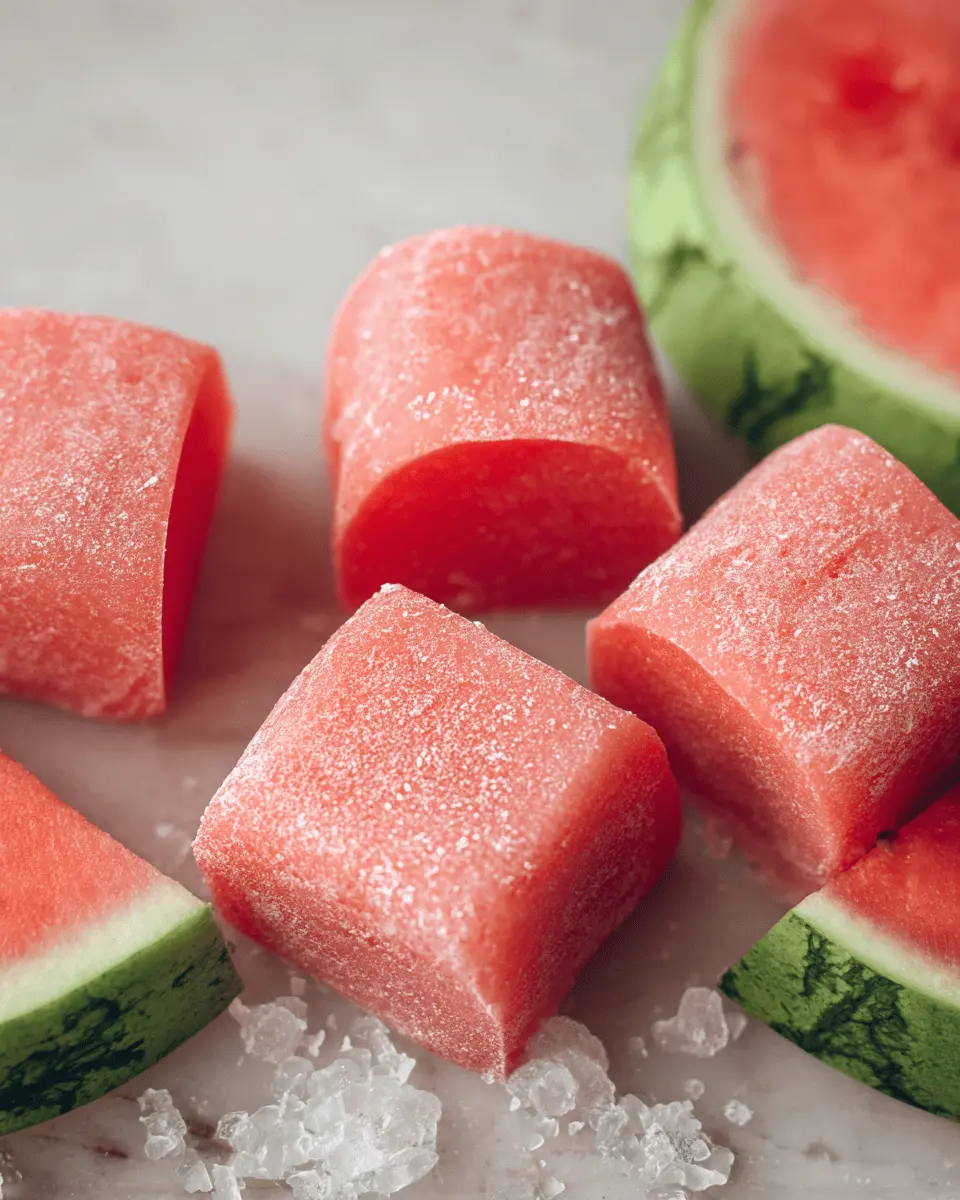
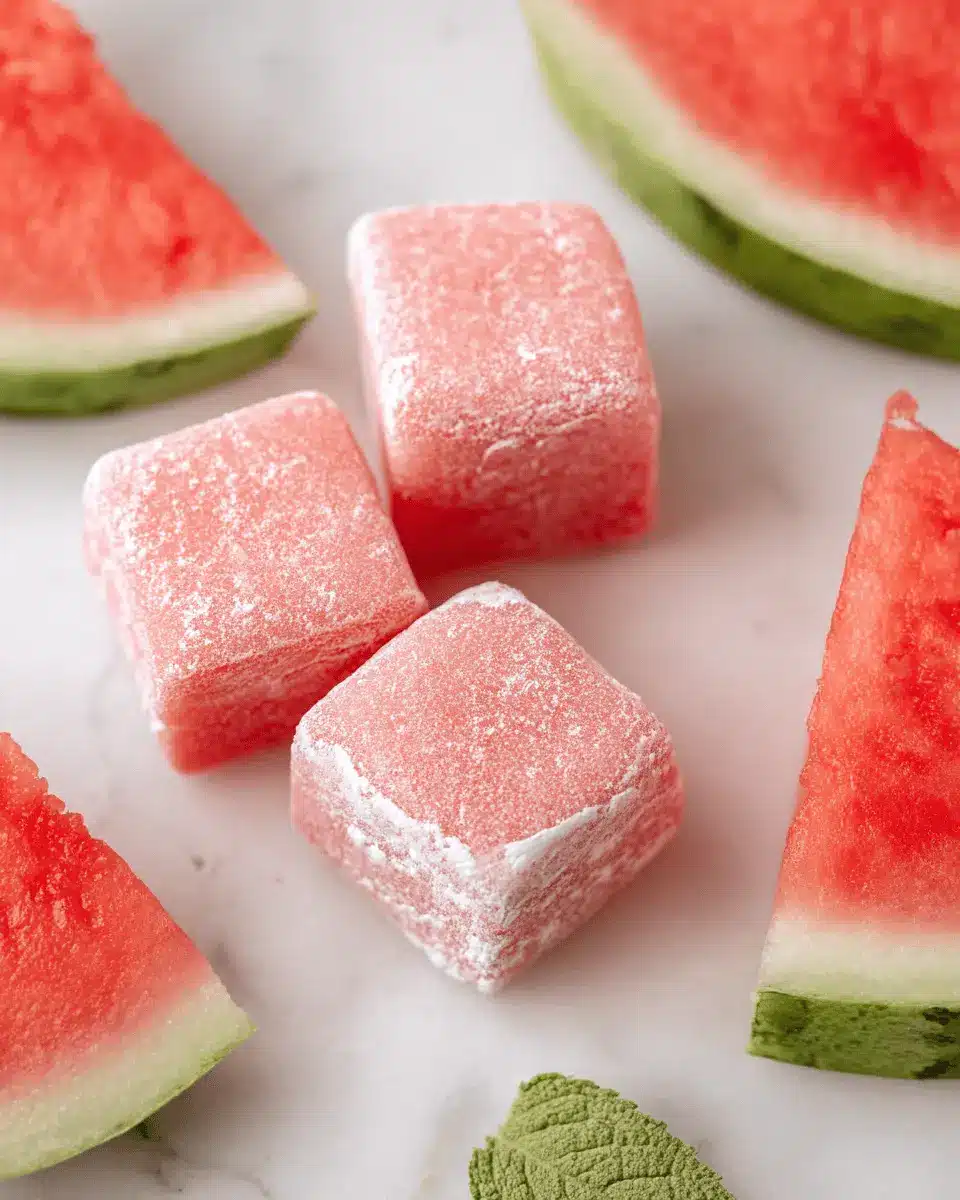
Once your mochi has cooled and set, it's time for the fun part—cutting it into pieces! Dust your work surface liberally with cornstarch to prevent sticking. Carefully remove the mochi from the mold and place it on the dusted surface. Use an oiled knife to cut the mochi into 12 squares, then dust all sides with more cornstarch to keep them from sticking together.
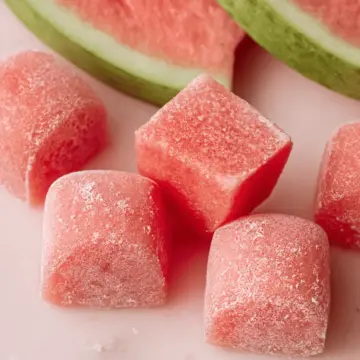
Now you’re ready to enjoy these delicious watermelon mochi treats. Their soft, chewy texture and delightful flavor are sure to impress anyone who takes a bite! Enjoy your homemade creation, and don’t forget to share the love with friends and family.
Creative Variations of Watermelon Mochi
Tropical Fruit Mochi
Why stop at watermelon mochi when you can explore a sweet tropical paradise? Consider incorporating your favorite fruits like mango or pineapple into the mochi mixture. Simply blend these ripe fruits along with watermelon juice for a vibrant, fruity twist. The combination of flavors will evoke that summer beach vibe, even in the middle of winter. You could also garnish with toasted coconut flakes for added texture and visual appeal.
Chocolate-Filled Mochi
If you have a sweet tooth, you’ll love the idea of making chocolate-filled watermelon mochi! After preparing your watermelon base, simply mold a thicker layer around a dollop of your favorite chocolate ganache or melted chocolate. This unexpected fusion of fresh watermelon and rich chocolate creates a deliciously satisfying contrast that will surprise and delight anyone who bites in. Treat yourself—it’s a match made in dessert heaven!
Cooking Tips and Notes for Watermelon Mochi
Ensure stickiness for perfect texture
Achieving that delightful stickiness is key for your watermelon mochi. As you cook the mixture, stir it consistently until it transforms into a thick, glossy paste. The consistency is crucial—too dry, and your mochi won't be chewy; too wet, and it’ll fall apart. If you're curious about getting that perfect stretch, a bit of patience while cooking goes a long way!
Using cornstarch for dusting
Dust your work surface with cornstarch before handling the mochi. This step prevents sticking and helps maintain that lovely texture. Remember to coat the top of the mochi with more cornstarch before cutting. It not only keeps the pieces from sticking together but also adds an extra layer of flavor. For even more tips on managing mochi, check out this helpful resource!
Serving Suggestions for Watermelon Mochi
Pairing with Fruit Salads
Elevate your watermelon mochi experience by pairing it with vibrant fruit salads. Imagine a refreshing mix of strawberries, kiwi, and pineapples merging with the sweet and chewy texture of mochi. This combination not only adds an array of colors but also offers a delightful contrast in flavors. For a perfectly balanced dish, consider drizzling honey or a sprinkle of mint for that fresh kick.
Enjoying with a Scoop of Sorbet
Looking for a unique dessert experience? Serve your watermelon mochi alongside a scoop of sorbet! The fruity, icy texture of sorbet complements the soft, chewy mochi perfectly. You might try pairing it with lemon or lime sorbet for a zesty twist, or even coconut sorbet to enhance the tropical vibes. This contrast creates a refreshing balance that’s sure to impress guests or simply treat yourself after a long day.
For more ideas and inspiration, you might want to check out sites like Food Network or Bon Appétit for great fruit-based dessert pairings.
Time Breakdown for Watermelon Mochi
Preparation time
With just 5 minutes of prep, you'll be amazed at how quickly you can get started on this delicious watermelon mochi. It's all about mixing the ingredients and getting your molds ready!
Cooking time
The cooking process takes about 15 minutes. You’ll heat the mixture until it reaches that perfect sticky and translucent consistency, which is essential for your mochi's delightful texture.
Total time
In just 20 minutes, plus a little chill time in the fridge, you can be enjoying soft and flavorful watermelon mochi. It’s the perfect quick treat to impress your friends or indulge in yourself. For more delicious recipes, check out our active blog.
Nutritional Facts of Watermelon Mochi
Calories
Each piece of watermelon mochi contains approximately 70 calories, making it a delightful treat that won’t derail your healthy eating.
Sugar Content
With about 9 grams of sugar per serving, most of it comes naturally from the watermelon juice, providing a sweet yet refreshing taste.
Carbohydrates
These chewy squares consist of roughly 15 grams of carbohydrates, which is a great option for a light snack during your day.
Enjoy this unique fusion of flavors while staying mindful of your nutrition! For other delightful treats, check out Healthline’s article on low-calorie snacks for more inspiration.
FAQs about Watermelon Mochi
Can I make watermelon mochi without the juice?
While watermelon juice is a key ingredient that gives this mochi its delightful flavor and color, you can experiment without it. Consider using other fruit juices like mango or strawberry for unique twists. However, keep in mind that the texture may differ slightly.
How to store leftover mochi?
To keep your watermelon mochi fresh, store it in an airtight container at room temperature for up to 2 days. If you need longer storage, place it in the fridge, where it can last for about a week. Just remember to dust it with cornstarch to prevent sticking!
What other flavors can I try?
Feeling adventurous? You can try various flavors by substituting the watermelon juice with different fruit juices or purees. Consider classic options like matcha or chocolate for a more traditional mochi experience. The sky's the limit! For inspiration, check out this article on mochi flavor variations.
Whether you're new to watermelon mochi or a seasoned pro, these tips should help you enjoy this unique treat to the fullest!
Conclusion on Watermelon Mochi
Watermelon mochi is a delightful treat that's perfect for any occasion. Its unique combination of soft, chewy texture and refreshing watermelon flavor makes it an unforgettable dessert. Whether you’re enjoying it with friends or savoring it on a quiet afternoon, this recipe is sure to impress! Ready to indulge?
Watermelon Mochi
Equipment
- blender
- Deep Frypan
- saucepan
- Spatula
- 12cm x 12cm square mold
Ingredients
- 200 g Glutinous rice flour
- 65 g Granulated sugar
- 40 g Corn starch
- 240 ml Watermelon juice, strained
- 1.5 tablespoon Vegetable oil
Instructions
- To make the watermelon juice place watermelon flesh in a blender and blitz until smooth, then pass through a fine mesh sieve to remove any pulp
- Combine the glutinous rice flour, sugar, and cornstarch in a bowl
- Add the watermelon juice and oil, and whisk until smooth
- Heat a deep frypan or saucepan over medium heat and add the mochi mixture
- Heat, stirring consistently, for 5-8 minutes, or until the mochi mixture thickens and changes into a dark pink translucent color (the mixture should be very sticky)
- Remove from the heat
- Prepare a 12cm x 12cm square mold and line it with parchment paper, if you don’t have that size any small rectangular container should work
- Pour the warm mochi into the lined mold and press it down with the spatula to flatten it
- Place the mochi in the fridge to cool for 1-2 hours, or until slightly firmed up
- Dust your work surface with cornstarch
- Remove the mochi from the mold and place it on the dusted surface
- Dust the top of the mochi with more cornflour and cut it into 12 pieces of mochi with an oiled knife
- Separate the pieces and dust all sides of the mochi with cornflour
- Enjoy!

Leave a Reply