
Introduction to Home-Baked Japanese Cheesecake
What is Japanese cheesecake and why is it special?
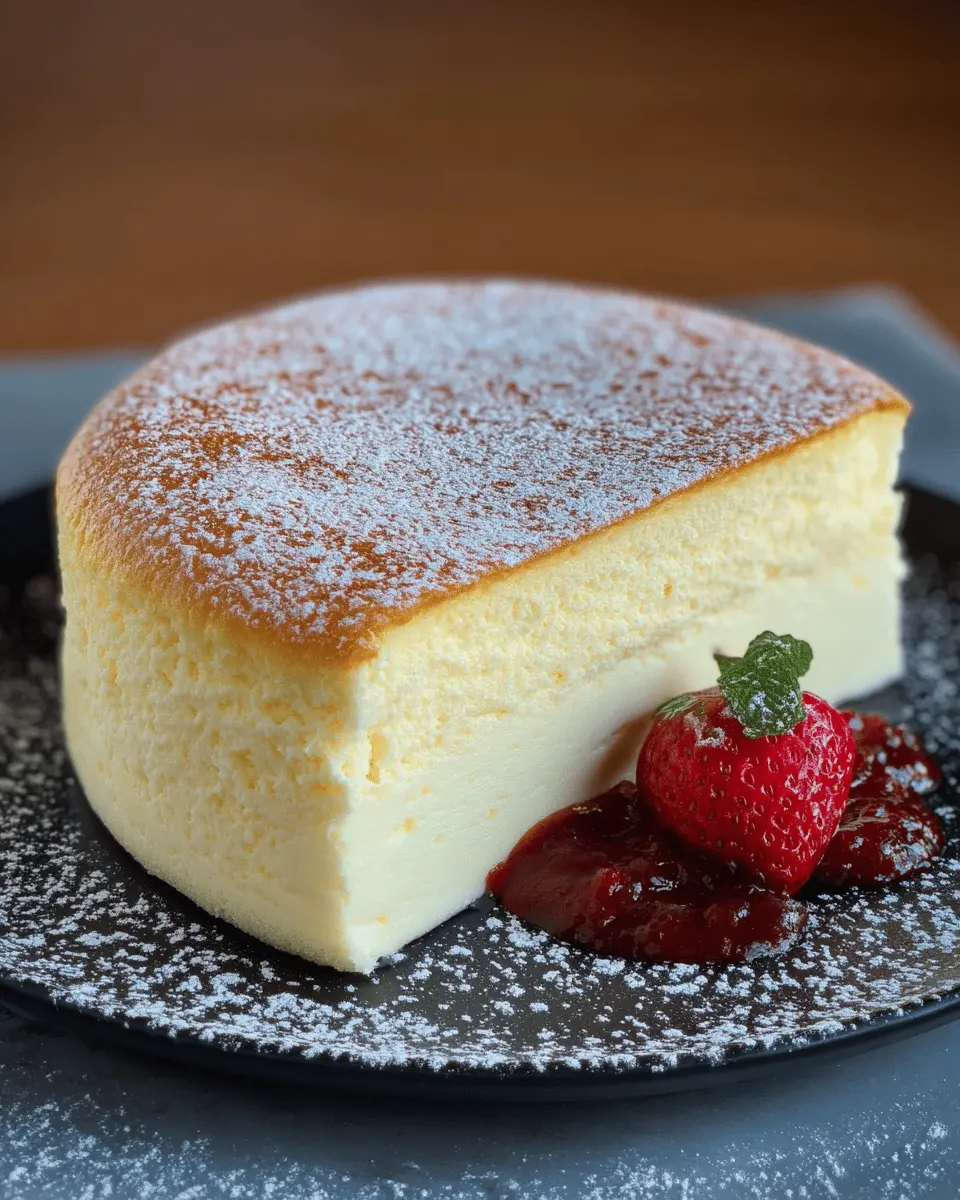
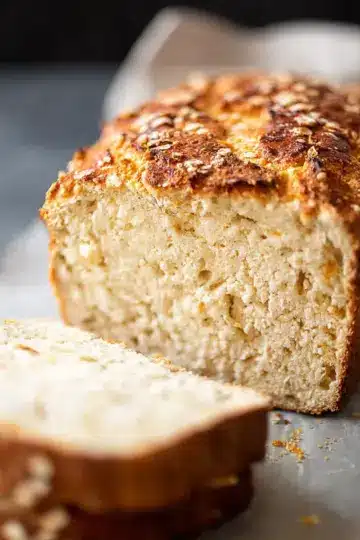
Have you ever tasted a cheesecake so light and airy that it feels like a cloud with every bite? That’s the magic of Japanese cheesecake, often referred to as Japanese cotton cheesecake or soufflé cheesecake. What sets this dessert apart is its unique texture – a delicate balance of fluffiness and creaminess that melts seamlessly on your tongue.
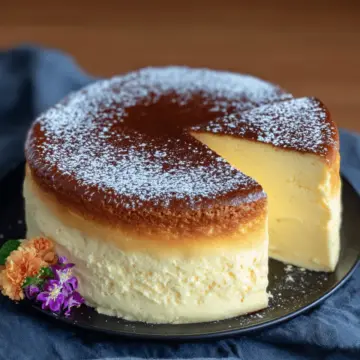
Unlike traditional cheesecakes that are dense and rich, a home-baked Japanese cheesecake offers an entirely different experience. It’s made by folding whipped egg whites into a creamy batter, creating a soufflé-like effect. The result? A cake that jiggles beautifully with a soft, sponge-like structure.
Why should you try your hand at this home-baked Japanese cheesecake recipe? For starters, it's highly adaptable. You can flavor it with matcha powder, chocolate, or even citrus zest to suit your palate. Not to mention, it's visually stunning – the perfect centerpiece for any gathering.
If you love baking and are looking to impress your friends or simply indulge in a delightful treat, then home-baked Japanese cheesecake is the answer. Ready to elevate your dessert game? Let’s get to the recipe that promises success!
Ingredients for Home-Baked Japanese Cheesecake
Essential Ingredients for a Fluffy Cheesecake
Creating a heavenly home-baked Japanese cheesecake requires a few essential ingredients that contribute to its signature fluffiness and delicate texture. Here’s what you need:
- Egg Whites: 5 large ones, whipped into stiff peaks are key to achieving that airy lift.
- Cream Cheese: Use an 8 oz bar for the rich and creamy base.
- Butter: ¼ cup will add a buttery flavor and moisture.
- Milk: ½ cup, preferably whole, provides creaminess.
- Fine Sugar: Both ¼ cup and ½ cup of fine sugar (for meringue and batter) sweeten without adding grittiness.
- Cornstarch: 2 tablespoons act as a magic ingredient for structure.
- Flour: ¼ cup (substituting with rice flour makes it gluten-free).
These foundational ingredients create the perfect balance of flavor and texture.
Optional Flavorings and Toppings
To elevate your home-baked Japanese cheesecake recipe, consider some optional flavorings and toppings:
- Flavorings: Add a teaspoon of vanilla extract or lemon juice to the batter for a subtle zing. Matcha powder or cocoa powder can transform your cheesecake into matcha or chocolate versions.
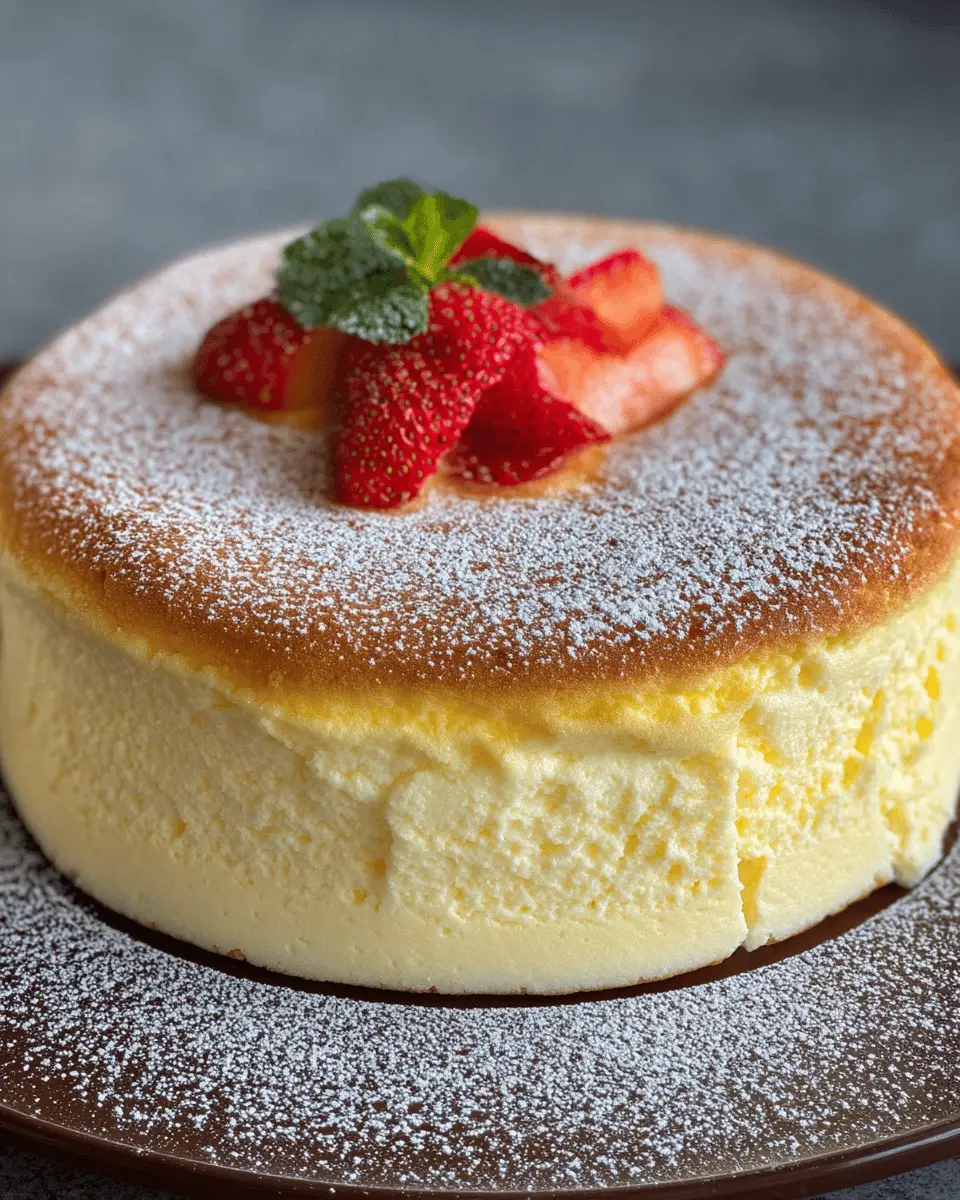
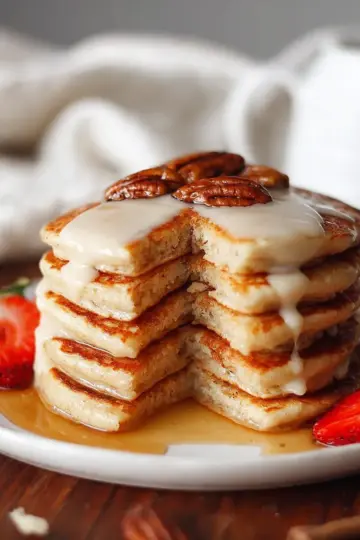
- Toppings: Lightly dust your cheesecake with confectioners' sugar, or add fresh strawberries, whipped cream, or a drizzle of honey for an extra touch.
Feel free to get creative; the flexibility of this recipe allows you to tailor it to your taste. For more ideas on customizing your dessert, check out sources like Serious Eats for inspiration.
Step-by-Step Preparation of Japanese Cheesecake
Baking a home-baked Japanese cheesecake can seem intimidating, but with Kat Lieu's foolproof recipe, you’ll find it to be a delightful adventure! Let’s break it down into manageable steps, ensuring that you end up with a beautifully fluffy and jiggly cheesecake.
Gather and Separate Your Ingredients
First things first, preparation is key! Before diving into the actual baking, make sure you gather all your ingredients. You’ll need:
- 5 egg whites
- 5 egg yolks
- 8 oz cream cheese
- ¼ cup butter
- ½ cup milk
- Fine sugar, cornstarch, and flour
Separate the eggs, placing the yolks in one bowl and the whites in another. This step is crucial for creating that airy texture we love in Japanese cheesecake.
Create the Cake Batter
In a saucepan over low heat, combine the cream cheese, butter, and ¼ cup of fine sugar. Stir gently until everything melts into a smooth batter. Remove it from heat and mix in the egg yolks. Next, sift in the cornstarch and flour. This will help achieve that light, fluffy texture. Add the milk last, mixing thoroughly until there are no lumps. This batter is going to be the base of your Japanese cheesecake joy!
Beat the Egg Whites to Stiff Peaks
Now, let’s get those egg whites ready! Using an electric mixer, beat the egg whites with cream of tartar until soft peaks form. Gradually add in fine sugar until you reach stiff peaks. This might take a few minutes, but trust me; it’s where the magic happens. Stiff peaks are what will give your cheesecake its delightful fluffiness!
Combine Batters Carefully
Carefully fold one-third of the beaten egg whites into the cake batter to lighten it. After that, slowly add the rest of the egg whites, folding gently. Be cautious not to over-mix — you want to maintain that airiness. Properly mixing without deflating is critical for a successful home-baked Japanese cheesecake.
Prepare the Baking Setup
Preheat your oven to 330°F. It’s essential to create a bain-marie, which involves placing a deep rectangular baking dish filled with hot water into the oven. This will help the cheesecake bake evenly and create a moist environment, preventing cracks.
Bake It to Perfection
Finally, pour your batter into prepared baking pans lined with parchment paper. Bake in the bain-marie for about 25 minutes at 330°F. Afterward, check if your cake has risen—if it hasn’t, give it a little more time or adjust the temperature. Lower the oven temperature to about 245-265°F and continue baking for another 45 minutes.
Let your cheesecake rest in the oven for about 10 minutes after baking. This will help it retain its shape. With a gentle flip onto a serving plate, take a moment to admire your bouncy creation! Serve it warm or chill it for later.
Now that’s how you prepare the best home-baked Japanese cheesecake. Enjoy this amazing dessert that never fails to impress!
For more baking tips and great ingredients, check out resources like Serious Eats and BBC Good Food.
Variations on Japanese Cheesecake
Elevate your home-baked Japanese cheesecake recipe with delightful variations that cater to different palates!
Matcha-flavored Japanese Cheesecake
For a unique twist, simply blend 2 tablespoons of matcha powder into your batter. This fragrant green tea flavor brings a deliciously earthy note, perfect for those who adore the taste of matcha. Not only does it enhance the flavor, it adds a vibrant color that looks stunning on your dessert table.
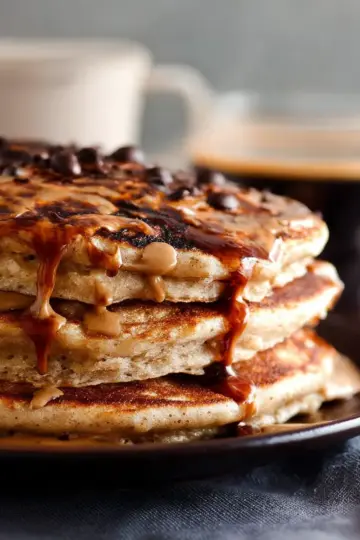
Chocolate Japanese Cheesecake
If you're a chocolate lover, consider adding 2 tablespoons of cocoa powder to the mix. This variation combines the light, airy texture of Japanese cheesecake with the rich decadence of chocolate, creating an indulgent dessert that’s sure to impress. Topped with fresh berries or a dusting of cocoa powder, it creates a delightful treat for any occasion.
Experimenting with these flavors will undoubtedly make your cheesecake stand out at gatherings or even during cozy nights in. You can learn more about matcha and its benefits at Healthline. For an in-depth guide on chocolate’s health perks, check out WebMD.
Cooking Tips and Notes for Japanese Cheesecake
Achieving the perfect texture
To get that deliciously fluffy texture in your home-baked Japanese cheesecake recipe, make sure to beat your egg whites very thoroughly until stiff peaks form. This step is crucial! Folding in the meringue gently into the batter helps maintain airiness, so avoid aggressive mixing. Vintage recipes suggest using a hand whisk for a fun workout, or you can opt for a stand mixer if you've got one handy.
Avoiding common baking mistakes
Baking is an art, and mistakes happen! A common pitfall is overbaking, which can lead to a dry texture. Keep an eye on the time and temperature, especially during the last stages. Use a toothpick to check doneness: it should come out slightly moist but not wet. Also, remember to cool the cheesecake gradually in the oven to prevent cracks—open the door slightly after the initial high-heat phase.
For more baking tips, check out Serious Eats for expert insights. Your Japanese cheesecake will be a hit with these handy tips!

Serving Suggestions for Japanese Cheesecake
Pairing with Fruits and Sauces
Elevate your home-baked Japanese cheesecake recipe by pairing it with fresh or cooked fruits. Try topping with:
- Strawberries: Their tartness complements the sweetness beautifully.
- Mango: Adds a tropical flair with rich flavor.
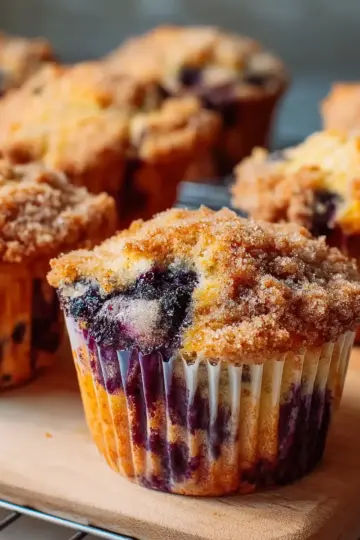
- Blueberries: Packed with antioxidants, they add a vibrant color and a slight tang.
- Berry sauce: A simple puree of your favorite berries can drape elegantly over your cake.
You can also consider drizzling a bit of honey or a homemade lemon sauce for a refreshing touch.
Presentation Ideas for Special Occasions
Make your cheesecake the star of the table! When serving at a gathering:
- Garnish: Dust with powdered sugar or matcha for an elegant finish.
- Cake Stands: Present it on a decorative cake stand to elevate its appeal.
- Seasonal Touches: Decorate with edible flowers or fresh mint sprigs during spring and summer events.
Whichever method you choose, your guests are bound to be impressed!
Time Breakdown for Japanese Cheesecake
Preparation Time
The home-baked Japanese cheesecake recipe starts with a quick preparation phase, taking about 20 minutes. This includes gathering ingredients and mixing the batter for that dreamy, fluffy texture.
Baking Time
Baking is where the magic happens! Expect to spend around 70 minutes in the oven, during which you’ll achieve that perfect rise and jiggly middle.
Total Time
In total, this delightful cheesecake requires 1 hour and 30 minutes from start to finish. Grab a friend, roll up your sleeves, and get ready to impress with this heavenly dessert!
For more tips, check out this guide on cheesecake baking techniques.
Nutritional Facts for Japanese Cheesecake
Calories per slice
A single slice of this delightfully fluffy Japanese cheesecake typically contains around 250 calories. This makes it a lighter alternative to traditional cheesecakes, perfect for satisfying your sweet tooth without the guilt.
Protein content
Each slice boasts about 6 grams of protein, thanks to ingredients like eggs and cream cheese. It's a tasty way to add a little extra protein to your day!
Sugar levels
With approximately 13 grams of sugar per slice, this cheesecake is a sweet treat that you can enjoy responsibly. This moderate sugar level allows you to indulge without going overboard on your daily intake.
For more insights into home-baked Japanese cheesecake recipes, you can check out articles from reliable sources, like the USDA FoodData Central, which provides in-depth nutritional information.
FAQ about Japanese Cheesecake
Why is my cheesecake not rising?
If your home-baked Japanese cheesecake isn’t rising as expected, it could be due to several factors. First, check your oven temperature; it may not be hot enough. Ideal baking temperatures are around 330°F for the initial phase. Also, ensure you beat the egg whites to stiff peaks, as they provide the necessary lift. Finally, be mindful of over-mixing the batter, as this can lead to a dense texture rather than the desired fluffiness.
Can I make this cake gluten-free?
Absolutely! To make your Japanese cheesecake gluten-free, simply swap regular flour with sweet rice flour (Mochiko). This will still give you that signature light and airy texture while catering to gluten sensitivities.
How do I store leftovers?
To keep your cheesecake fresh, store any leftovers in an airtight container in the refrigerator. It’s best enjoyed within a few days, but you can also freeze it for up to a month. Just thaw it in the fridge before serving for the best texture. For more tips on storage, check out resources from the American Institute for Food Safety.
Conclusion on Home-Baked Japanese Cheesecake
Why You Should Try Making This Cheesecake at Home
Creating your own home-baked Japanese cheesecake is a rewarding culinary adventure that combines simplicity with impressive results. Its unique texture and melt-in-your-mouth flavor make it a show-stopper for any gathering or a comforting dessert for cozy nights in. Plus, nothing beats that sense of accomplishment as you watch it puff up beautifully in the oven. So why not give this delightful recipe a try? You won’t be disappointed!
The Best Home-Baked Japanese Cheesecake Recipe by Kat Lieu
Equipment
- Mixer
- Baking Pan
- pot
- parchment paper
- Oven
Ingredients
Egg White Meringue (Stiff Peaks)
- 5 eggs egg whites
- ¼ teaspoon cream of tartar or vinegar or lemon juice
- ¼ cup fine (granulated) sugar Not Confectioner sugar
Cake Batter
- 5 eggs egg yolks
- 8 oz cream cheese 1 bar
- ¼ cup butter
- ½ cup milk 125ml
- ¼ cup fine (granulated) sugar
- 2 tablespoon corn starch magic ingredient
- ¼ cup flour use rice flour or Mochiko instead to make a gluten-free Japanese Cheesecake
Optional Toppings
- strawberries
- confectioner sugar
- fruits of your choice
- honey
- matcha powder
Instructions
Preparation Steps
- Separate 5 beautiful eggs. Place the egg yolks in a bowl, and the egg whites in a mixer bowl.
- Place the butter, cream cheese and ¼ cup of fine sugar into a pot over low-heat. Allow the ingredients to melt, and mix together into a beautifully smooth batter mixture.
- Remove the pot from heat, and add the egg yolks into the batter mixture. Mix well, but gently.
- Add the cornstarch and flour. Once again, mix well. Clumps should disappear.
- Add milk and optionally vanilla extract or other flavors of your choice.
- Mix well. The batter should be smooth and liquid-y. You won’t have to strain this mixture. (See video)
- Set aside the batter as you beat the egg whites into stiff peaks.
- Pre-heat oven to 330F. Prepare a bain-marie by putting water in a deep rectangular baking pan or dish. Place into the oven.
- Prepare baking pans— with these ingredients, you can bake one 8-inch cake or two 6-inch cakes. Line the bottoms of the baking pans with circular parchment paper, and the inside sides with rectangular strips of parchment paper. (Not wax paper.)
- Once you achieve stiff peaks, place some beaten egg white into the batter and mix together.
- Repeat the above step two more times.
- You don’t want to over mix the batter. Pour the batter into the rest of the egg whites and mix together using folding techniques. You don’t want to over-mix or under mix.
- Pour the well-incorporated, but not over-mixed batter into the baking pan(s).
- Bake bain-marie style for 25 minutes at 330F.
- After 25 minutes, crack open the oven door slightly and lower the oven temperature to 245-265F, and bake for an additional 45 minutes.
- Allow your cake to rest in the oven after baking for about 10 minutes.
- Remove from the oven. Be careful and use oven mitts as needed.
- Place a sheet of parchment paper over the cake. Place a plate over the cake and parchment paper. Flip the cake upside down so the top of it is now the bottom while resting on the parchment paper over the plate.
- Remove the wet parchment paper from the cake, replace the bottom parchment paper of the cake.
- Now place another plate— the presentation or serving plate, on top of the cake. It should be on top of the bottom of the cake. Flip the cake again, carefully.
- Play with the bouncy jiggly-ness of the cake. Serve when still warm, or chill in the fridge. It won’t be bouncy or fluffy after chilling though!
Leave a Reply