
Introduction to Easy Refrigerator Pickled Vegetables
Why Pickling is a Game Changer for Homemade Food
Have you ever stared at a pile of fresh vegetables and thought, “What am I going to do with all of this?” That’s where easy refrigerator pickled vegetables come in! Pickling is not just a way to preserve your favorite produce; it enhances flavors and transforms everyday meals into something you look forward to. Imagine adding tangy, crunchy pickled veggies to your sandwiches, salads, or charcuterie boards.
With simple ingredients and minimal effort, you can create a vibrant array of flavors at home. This technique allows you to extend the life of seasonal produce, making it a sustainable choice, too! Did you know that pickled foods can also provide probiotics, which are great for digestive health? According to nutrition experts, incorporating fermented foods into your diet can support gut health and overall wellness (source: Harvard Health).
So whether you have an overflowing garden or just want to elevate your meals, pickling is a delightful way to enjoy the freshness of vegetables year-round. Let's dive into this easy recipe for refrigerator pickles—your taste buds will thank you!
Ingredients for Easy Refrigerator Pickled Vegetables
When you’re ready to dive into the world of easy refrigerator pickled vegetables, having the right ingredients is essential for creating delicious and crunchy pickles. Let’s break down what you need!
Essential vegetables for your pickles
The beauty of pickling lies in its versatility. Here are some go-to veggies that thrive in this briny bath:
- Cauliflower florets
- Crisp green beans
- Colorful carrots
- Refreshing pickling cucumbers
- Sweet red bell peppers
- Mild sweet onions
Feel free to mix and match based on what you enjoy or have on hand. The more variety, the more vibrant your pickles will be! And for those who like a kick, toss in some sliced jalapeños or red chili peppers. They elevate the flavor and add a touch of heat.
Must-have herbs and spices
Herbs and spices are the heart of your brine. Focus on these must-haves:
- Fresh dill (or dried dill if you prefer)
- Celery seeds
- Coriander seeds
- Mustard seeds
- Black peppercorns
These ingredients provide that classic pickle flavor. A touch of dill imparts a refreshing note, while the seeds offer texture and depth.
Perfecting the brine mixture
Finally, the brine is where the magic happens! For a balanced flavor, combine:
- Distilled white vinegar for tang
- Granulated sugar for sweetness
- Kosher salt for that ideal briny punch
- Garlic cloves for an aromatic twist
This blend truly elevates your easy refrigerator pickled vegetables! Remember, you can adjust the sugar to taste—some prefer it tangier, while others enjoy a bit of sweetness.
For more ideas on pickling, check out Food & Wine's guide for additional inspiration!
Step-by-Step Preparation of Easy Refrigerator Pickled Vegetables
Pickling is not just a fantastic method of preserving tasty vegetables; it's also a rewarding kitchen adventure, bringing delightful crunch and flavor into your meals. Let’s break down the steps for preparing your own easy refrigerator pickled vegetables, ensuring you enjoy fresh, zesty bites that last for weeks.
Preparing the vegetables for pickling
Before you dive into pickling, start by gathering your favorite veggies. You can use a variety of colors and textures to create a visually appealing jar. Begin by washing and drying the vegetables thoroughly. Here’s how to prepare each type:
- Cauliflower: Cut into small, bite-sized florets.
- Carrots: Slice into thick rounds or cut into sticks.
- Green beans: Trim the ends and leave whole.
- Cucumbers: Remove the blossom end and slice thickly.
- Bell peppers and onions: Chop into strips or slice them into half moons.
These vibrant vegetables will infuse the brine with their flavors, making every bite a crisp delight!
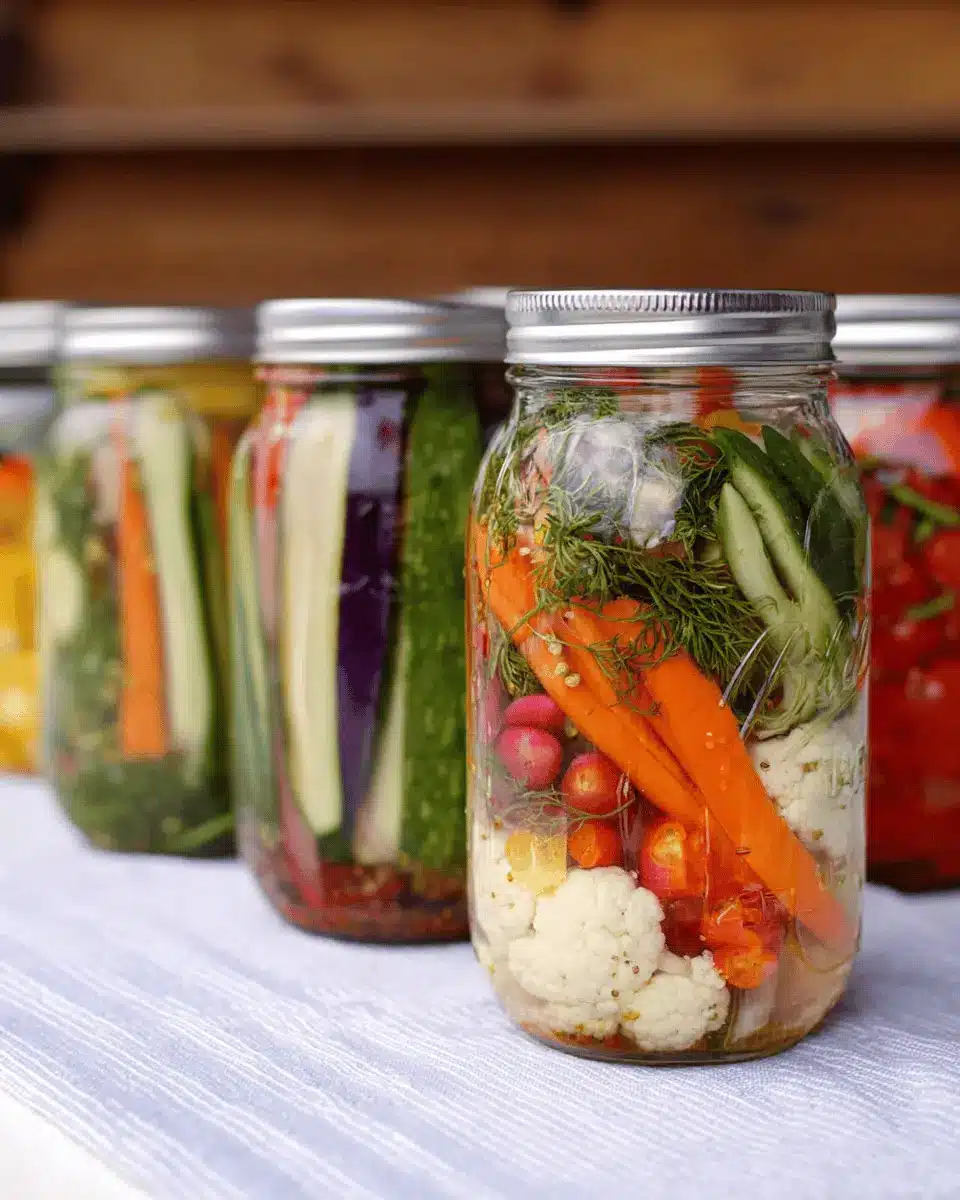
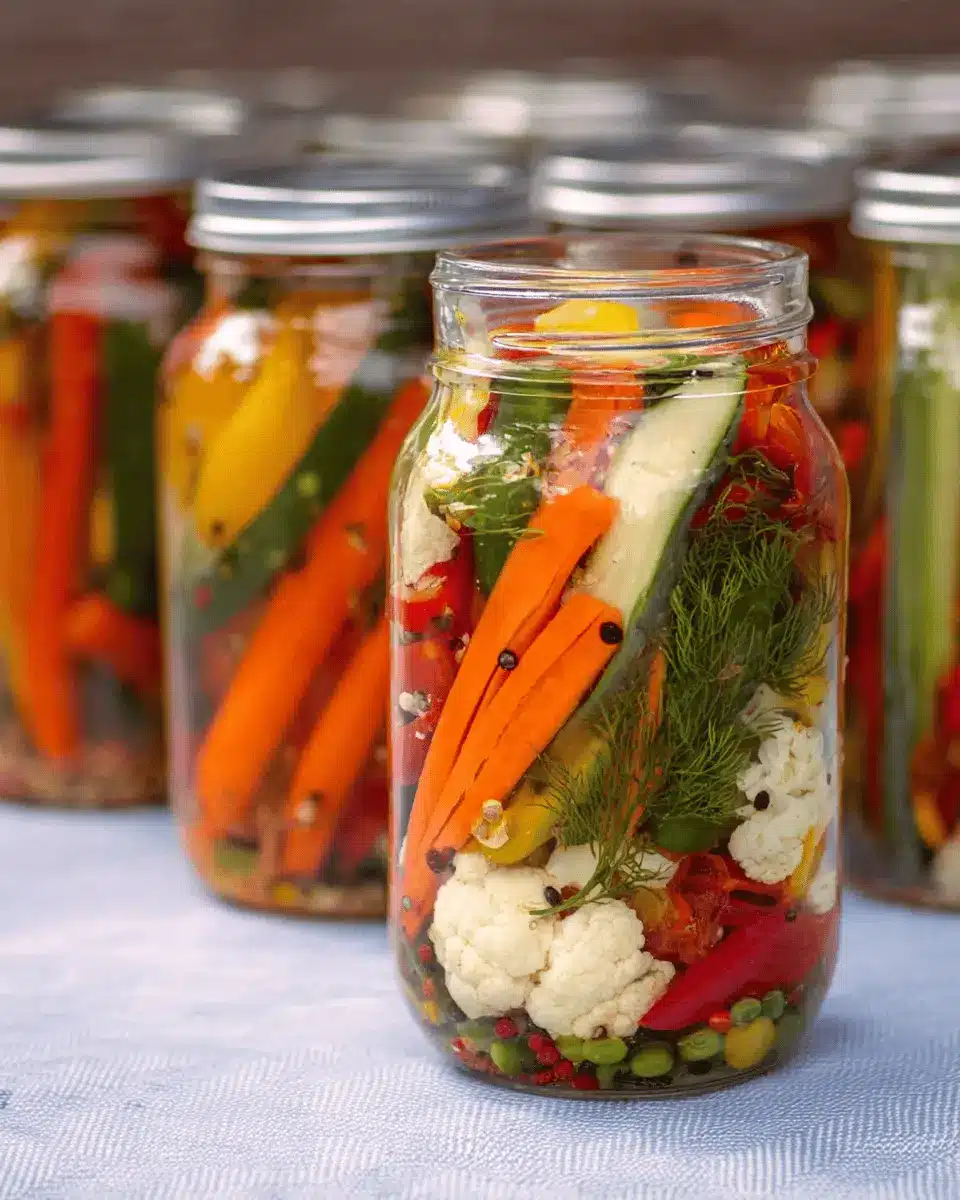
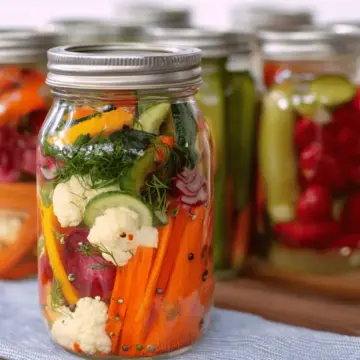
Packing jars with veggies and spices
Now that your vegetables are prepped, it’s time to pack them into jars. You’ll need two clean quart-sized canning jars. Start by placing a few sprigs of fresh dill at the bottom of each jar, a great herb for your easy refrigerator pickled vegetables. Next, layer your prepared veggies neatly, adding some sliced hot peppers if you desire a kick. Finally, sprinkle in the mustard seeds, coriander seeds, and black peppercorns, distributing them evenly between the jars.
Making the flavorful brine
Let’s create that mouthwatering brine that will elevate your pickles! In a medium saucepan, bring 4 cups of water to a boil and then reduce the heat to a simmer. Add 8 peeled garlic cloves for a milder flavor profile. Let them simmer for about 5 minutes, releasing their goodness into the liquid. Next, mix in 2 cups of distilled white vinegar, ¼ cup of granulated sugar, and 2 tablespoons of kosher salt. Stir until everything dissolves and reaches a boil again.
Filling the jars with brine
Once your brine is ready, it’s time to fill those jars! Remove the garlic cloves from the brine, placing 4 cloves into each jar for flavor. Using a glass measuring cup or ladle, carefully pour the hot brine over the packed vegetables, ensuring they are all submerged. Leave a little space at the top to allow for expansion as they cool.
Cooling and storing your pickled veggies
Finally, let those jars cool at room temperature before sealing them with lids. Pop them in the fridge, and here’s the best part: your easy refrigerator pickled vegetables will be ready to enjoy after just one day, although their flavor will deepen over several days. They will keep well in the fridge for about 2-3 months—if they last that long!
By following these easy steps, you’ll relish the taste of homemade pickles, enhancing your dishes and snacks effortlessly. Enjoy your culinary masterpiece! If you’re curious about other pickling techniques, check out resources from The National Center for Home Food Preservation for expert tips and guidance.
Variations on Easy Refrigerator Pickled Vegetables
Experimenting with Different Veggie Combinations
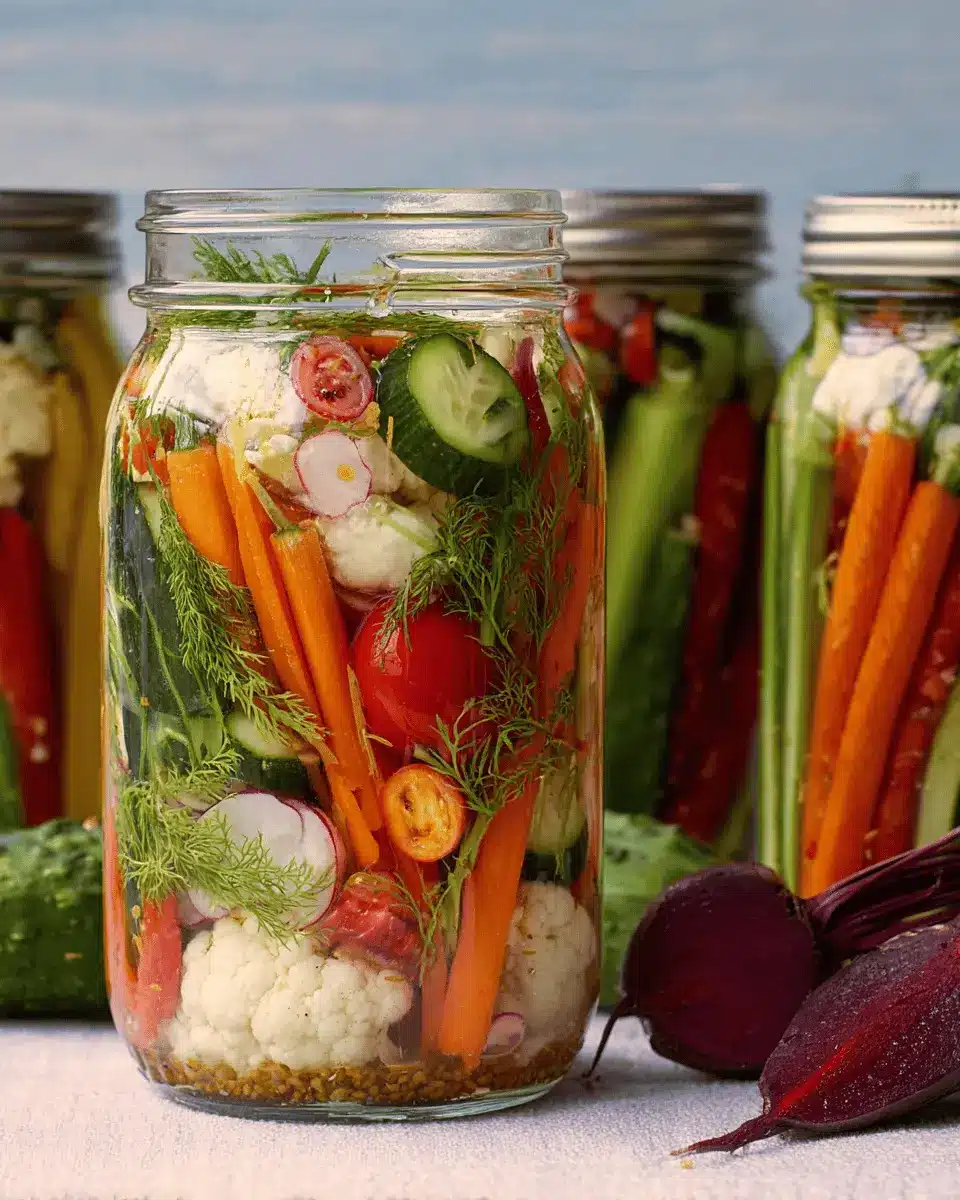
The beauty of easy refrigerator pickled vegetables lies in their versatility. While classic combinations like cucumbers and carrots are popular, don’t shy away from experimenting! Try adding sliced radishes for a peppery crunch or even thinly sliced beets for a burst of color and earthy flavor. You can mix and match based on seasonal availability or your personal preferences. Feel free to toss in some celery sticks or broccoli florets for added texture. Why not involve your friends in the fun? Host a pickling party and let everyone create their own unique blends!
Spicing It Up with Hot Peppers
If you love a little heat, consider spicing up your pickled vegetables! Adding hot peppers such as jalapeños or serranos can elevate the flavor profile significantly. A simple slit down the side of the pepper in each jar allows the brine to fully infuse. If you prefer a milder kick, crushed red pepper is an excellent option—just adjust the quantity based on your taste. Spice can add complexity and depth to your easy refrigerator pickled vegetables, making each bite a delightful surprise. For some inspiration, check out this guide to pickling spices and see what combinations excite your palate!
Cooking Tips and Notes for Easy Refrigerator Pickled Vegetables
Tips for Cleaning and Preparing Jars
To get the best results when making easy refrigerator pickled vegetables, start with clean, sterilized jars. You can do this by washing them in hot, soapy water or running them through a dishwasher. If you’re feeling particularly meticulous, sterilize your jars by simmering them in boiling water for 10 minutes. Don’t forget to dry them thoroughly before use — moisture can dilute your brine and affect the pickling process!
Storage and Shelf-Life of Your Pickles
Once your pickled veggies have cooled, securely seal the jars and pop them in the refrigerator. They will taste delightful after just one day, but give them a few days for optimal flavor. Typically, they’ll last for 2-3 months in the fridge, but trust me, they might be gone long before then! For more storage tips, consider checking out this guide on how to extend the shelf-life of pickled vegetables.
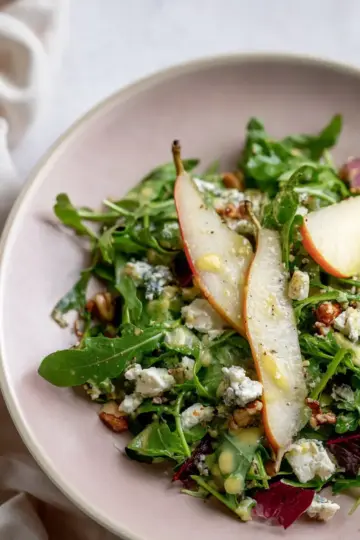
Serving Suggestions for Easy Refrigerator Pickled Vegetables
Ideas for Incorporating Pickles into Meals
Easy refrigerator pickled vegetables bring a delightful crunch and tang that can elevate any dish. Try adding them to your sandwiches or wraps for that extra zing—imagine a turkey bacon and avocado sandwich topped with crunchy pickled cucumbers. You can also toss some into salads for a refreshing twist or layer them alongside grilled meats for a burst of flavor that breaks the monotony of your meal.
Unique Snack Options with Pickles
Looking for a quick and healthy snack? Pair your easy refrigerator pickled vegetables with hummus or cream cheese for a satisfying dip option. Or, grab a few slices of pickled carrots to munch on during your work-from-home breaks. You might even try them on your next charcuterie board, where their vibrant colors and bold flavors will surely impress your guests. Whether you’re snacking solo or hosting friends, these pickles are bound to be a hit!
For more creative ideas, check out this guide on interesting ways to incorporate pickled vegetables into your meals from Epicurious.
Time Breakdown for Easy Refrigerator Pickled Vegetables
Preparation Time
Getting your veggies ready for pickling takes about 15-20 minutes. This involves washing, cutting, and packing them into jars. Use this time to choose your favorite vegetables and even get a bit creative with combinations!
Pickling Time
The brine takes roughly 10 minutes to prepare. Once you pour it over the veggies, let them cool. Although you’ll want to dive in right away, refrigerating the jars for at least 24 hours allows the flavors to meld beautifully.
Total Time
In just about 30-35 minutes, you can have your easy refrigerator pickled vegetables prepped and ready for the fridge. Plus, these tangy delights will last for weeks, making them a convenient addition to any meal!
For tips on different vegetable options, check out resources from The National Center for Home Food Preservation for a plethora of delicious ideas!
Nutritional Facts for Easy Refrigerator Pickled Vegetables
Calories per serving
These easy refrigerator pickled vegetables are not just delicious but also low in calories. Each serving typically contains around 30-50 calories, making them a guilt-free addition to any meal or a perfect snack option.
Key vitamins and minerals
Packed with nutrients, pickled vegetables are a great source of:
- Vitamin C: Essential for immune function and skin health.
- Vitamin K: Important for blood clotting and bone health.
- Antioxidants: Help combat oxidative stress and inflammation.
Including a variety of veggies in your pickling can enhance the range of vitamins and minerals you consume.
Health benefits of pickled vegetables
In addition to their fantastic taste, easy refrigerator pickled vegetables offer numerous health benefits:
- Improved digestion: The fermentation process can boost gut health through probiotics, aiding digestion and nutrient absorption.
- Enhanced flavor without added calories: Use them to liven up salads, sandwiches, or serve as a crunchy side.
- Low-sugar alternative: With adjustable sugar levels, they can be tailored to fit your dietary needs while still satisfying your cravings.
If you want to know more about the benefits of pickling, check out resources like Healthline, which dives deeper into the health advantages of fermented foods.
Incorporating pickled vegetables into your diet not only presents an easy way to consume more veggies but also adds a delightful tang that can elevate your everyday meals!
FAQ about Easy Refrigerator Pickled Vegetables
How long do refrigerator pickles last?
Your easy refrigerator pickled vegetables will stay fresh in the refrigerator for about 2-3 months. However, they’re typically at their best within the first few weeks. As they sit, they may become softer or lose some crunch, but the flavor generally intensifies, making them even more delicious!
Can I use other vegetables for pickling?
Absolutely! The beauty of pickling is its versatility. You can experiment with a variety of fresh vegetables, such as radishes, beets, or zucchini. Just make sure to cut them into similar sizes for even pickling. Feel free to check out other easy pickling ideas online for inspiration!
What’s the best way to enjoy pickled vegetables?
There are endless ways to savor your easy refrigerator pickled vegetables. They make a great addition to salads, sandwiches, and wraps, or can be enjoyed simply as a tangy snack. Try topping your favorite grilled dishes with them for added flavor!
Conclusion on Easy Refrigerator Pickled Vegetables
In conclusion, making easy refrigerator pickled vegetables is not only a fun and creative process, but it also provides a delicious way to savor seasonal produce year-round. With just a few steps, you can enjoy flavorful, crunchy snacks that elevate your meals and all your favorite culinary adventures. Give it a try!
Easy Refrigerator Pickled Vegetables
Equipment
- Canning jars
- Medium saucepan
- Glass measure
- Ladle
Ingredients
The Vegetables
- 2 pounds combination of cauliflower florets, green beans, carrots, pickling cucumbers, red bell pepper, sweet onions *More or less; can vary by preference.
- 1-2 jalapeño or Serrano peppers *Optional for spicy veggies.
The Herbs/Spices
- 6-8 sprigs fresh dill **May substitute with 1 teaspoon dried dill.
- 1 teaspoon celery seeds
- 1 teaspoon coriander seeds
- 1 teaspoon mustard seeds
- 1 teaspoon black peppercorns
The Brine
- 4 cups water
- 8 cloves garlic, peeled
- 2 cups distilled white vinegar (5% acidity)
- ¼ cup granulated sugar ***Can adjust to taste.
- 2 tablespoons kosher salt
Instructions
Preparation
- Cut the cauliflower into bite-size florets, slice the carrots thickly, trim green beans, and prep other vegetables as described.
- Pack the jars with a mix of vegetables and add optional hot peppers.
Brine Preparation
- Bring water to a boil, add garlic and simmer, then add vinegar, sugar, and salt and boil until dissolved.
- Remove garlic and place 4 cloves in each jar, fill with hot brine.
Final Steps
- Cool the jars, cover them, and refrigerate to let the flavors develop.

Leave a Reply